|
Today I presented at a New Zealand teacher conference - U-learn. It was a great way to share with other educators, providing some help on how to use Seesaw within literacy. We worked on some activities, explored the seesaw activity library and then made some of our own! I had fun delivering this session and hope the people attending did too! If you were unable to attend and want access to the slide deck that I shared, please visit bit.ly/jordanpriestleyseesaw1 to make a copy for yourself!
0 Comments
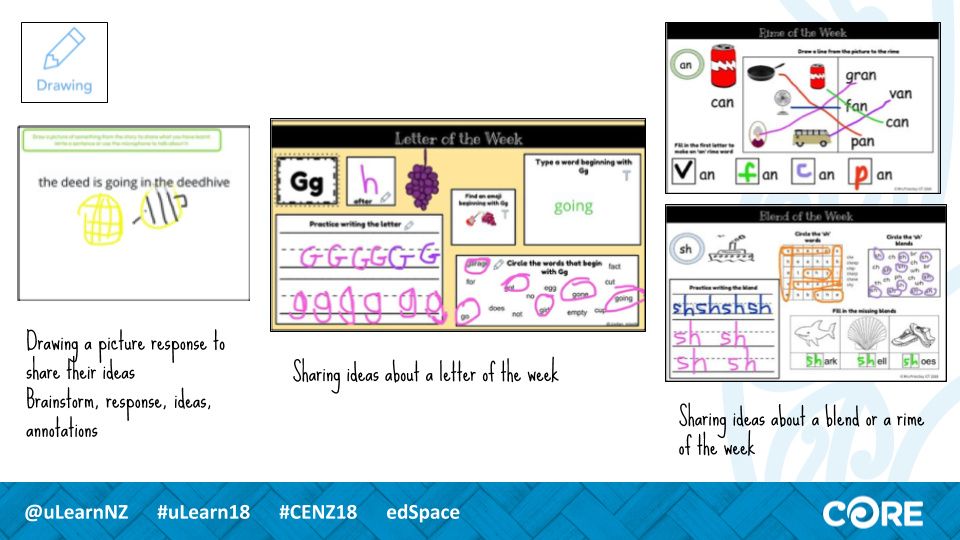
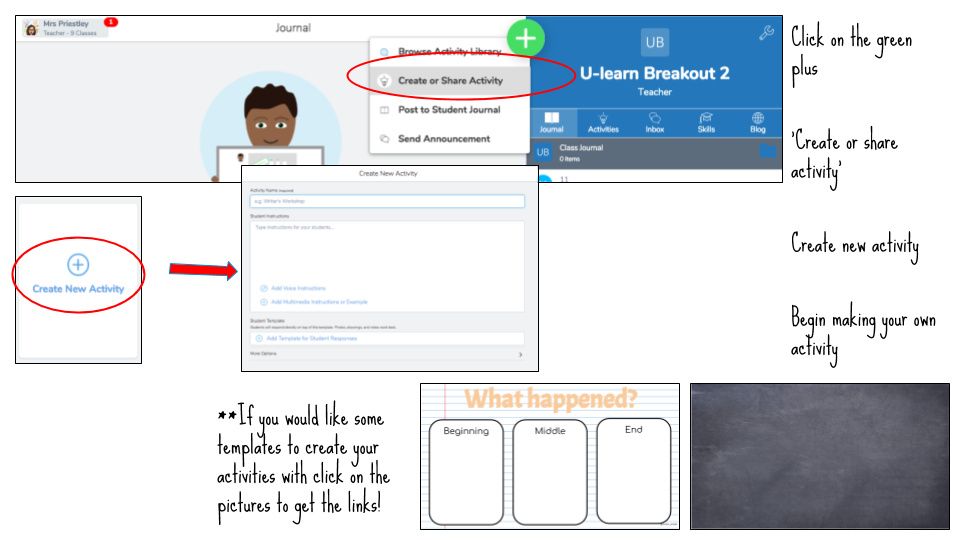
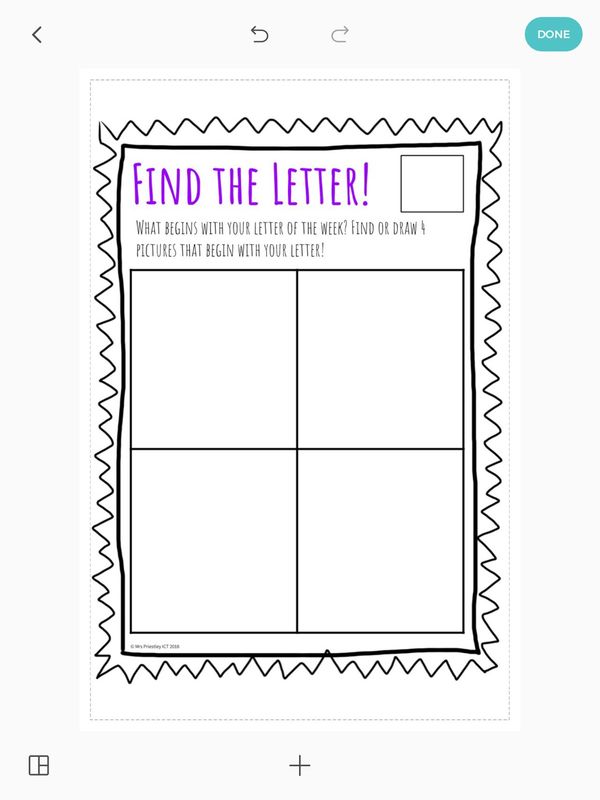
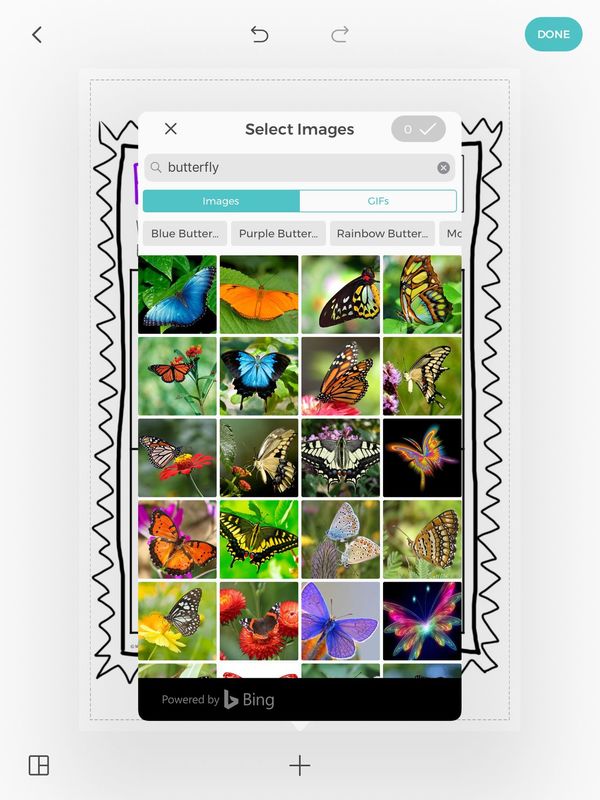
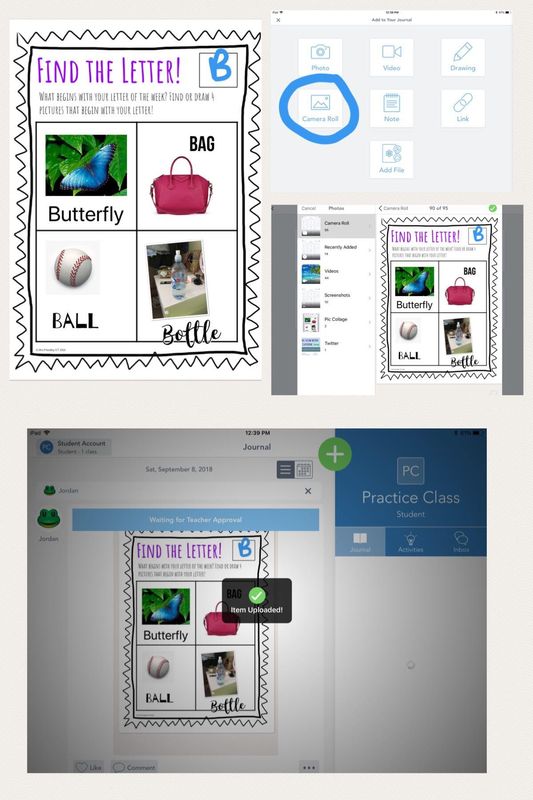
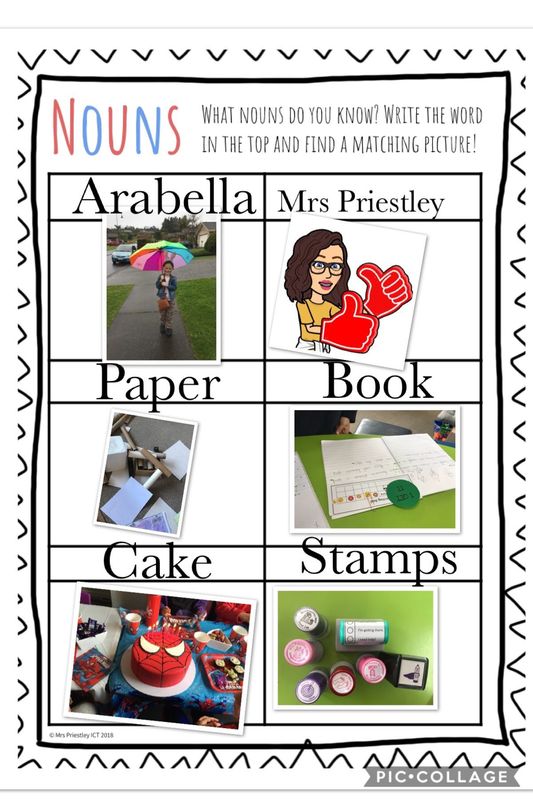
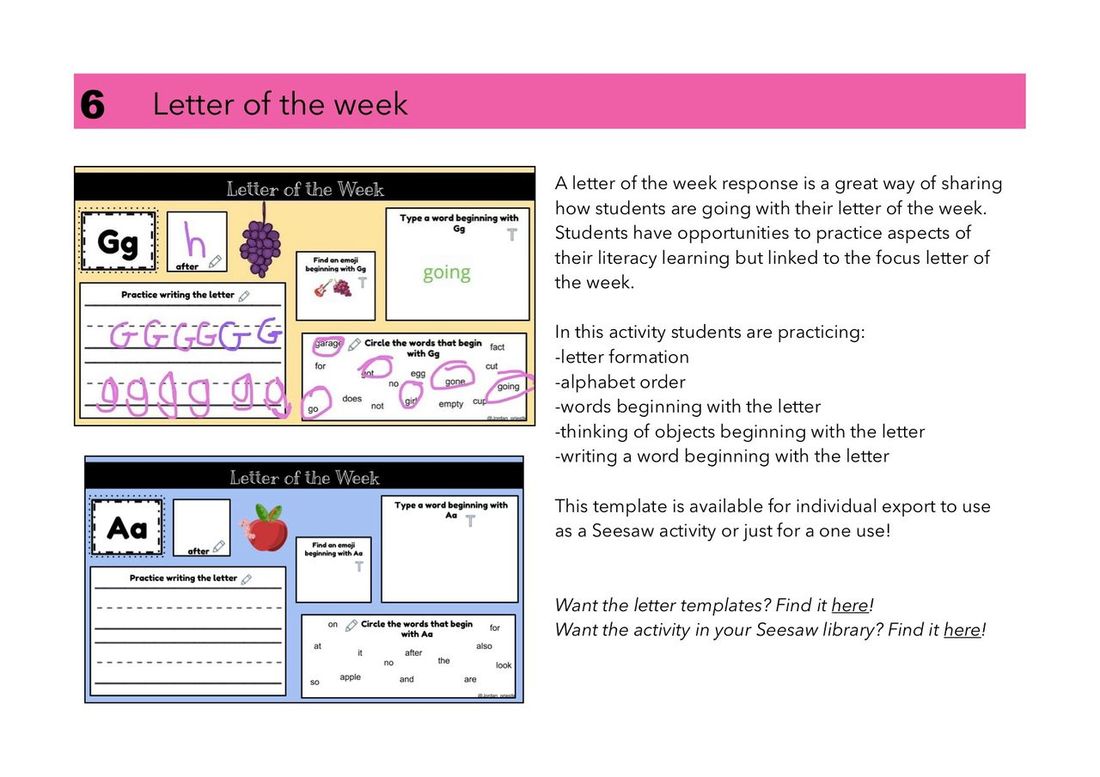
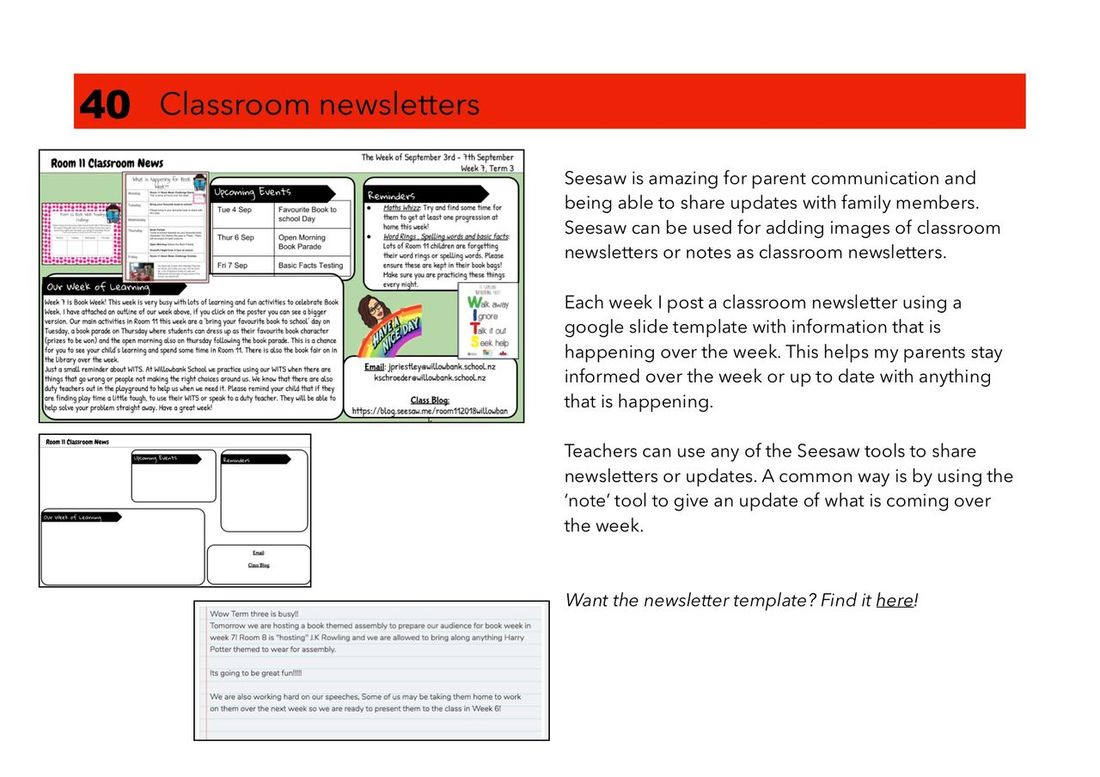
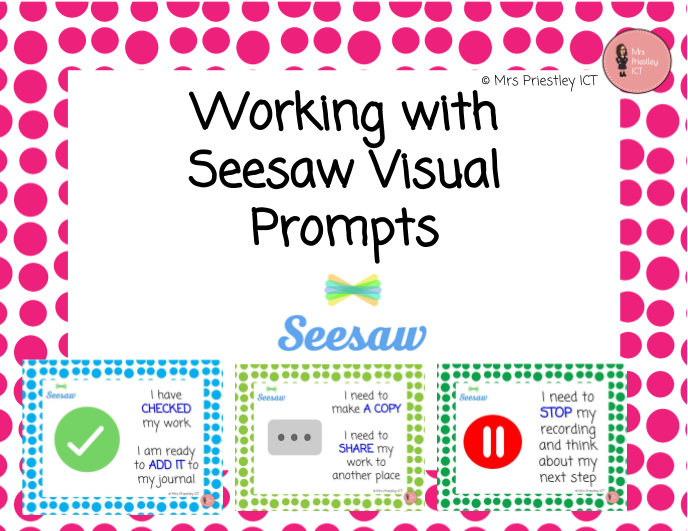
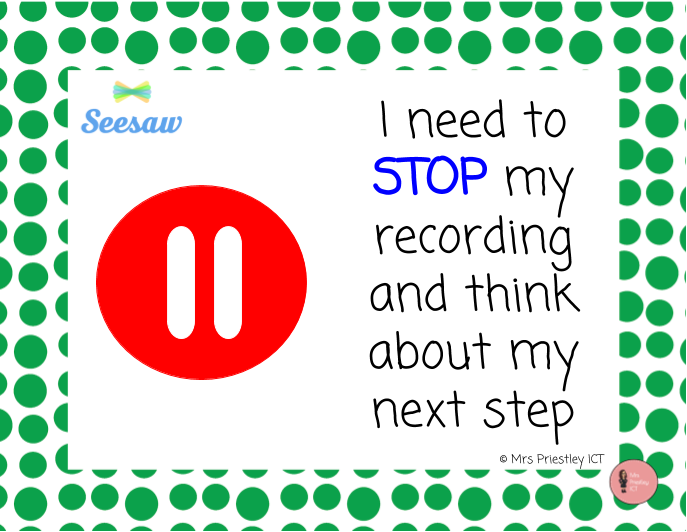
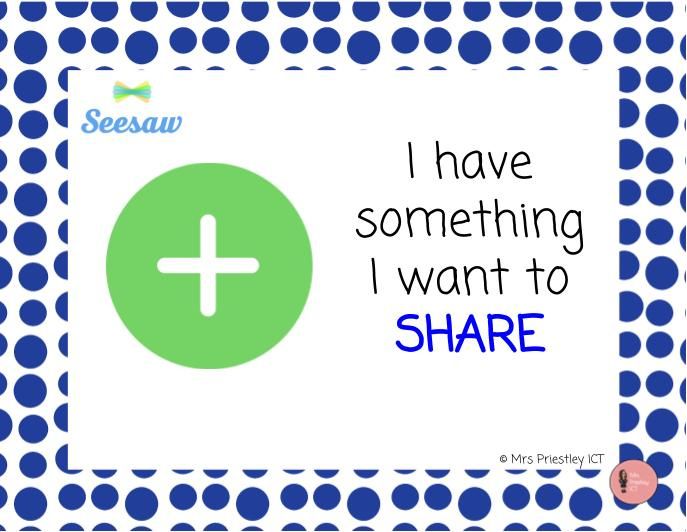
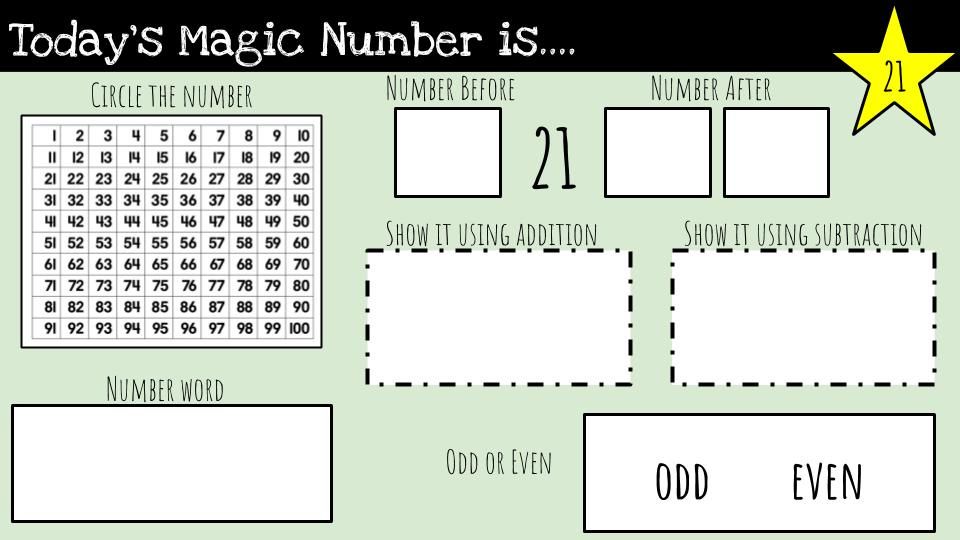
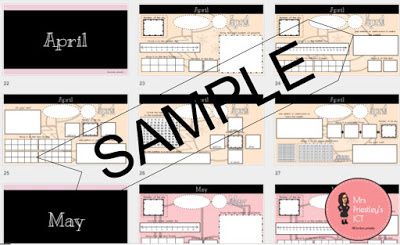
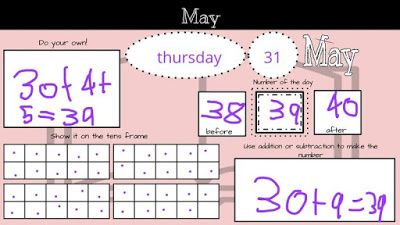
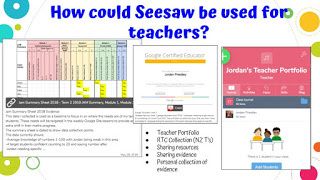
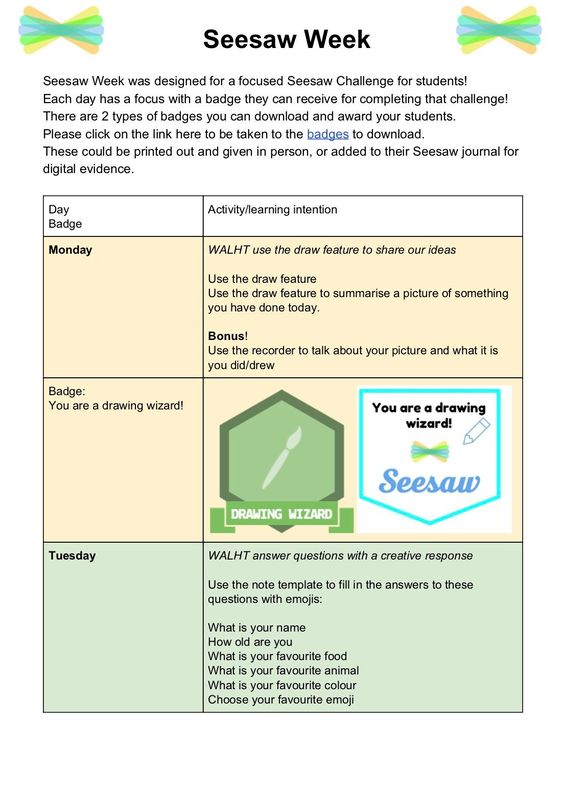
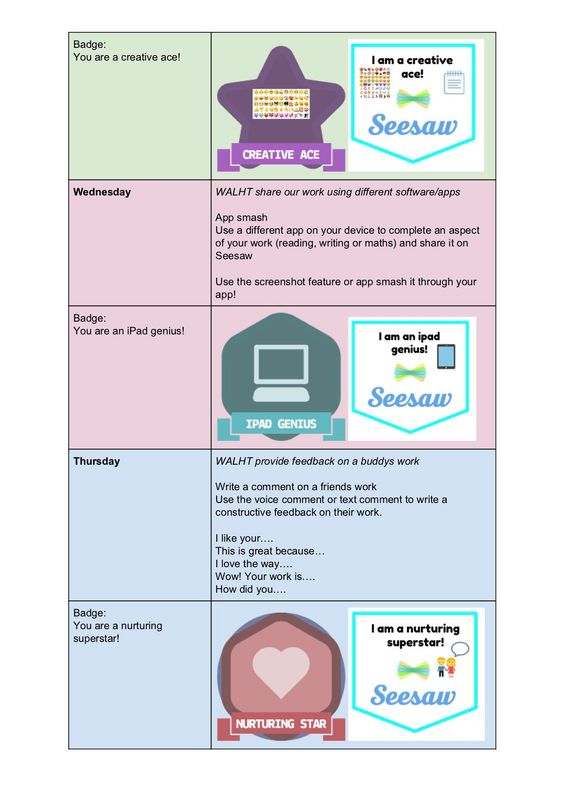
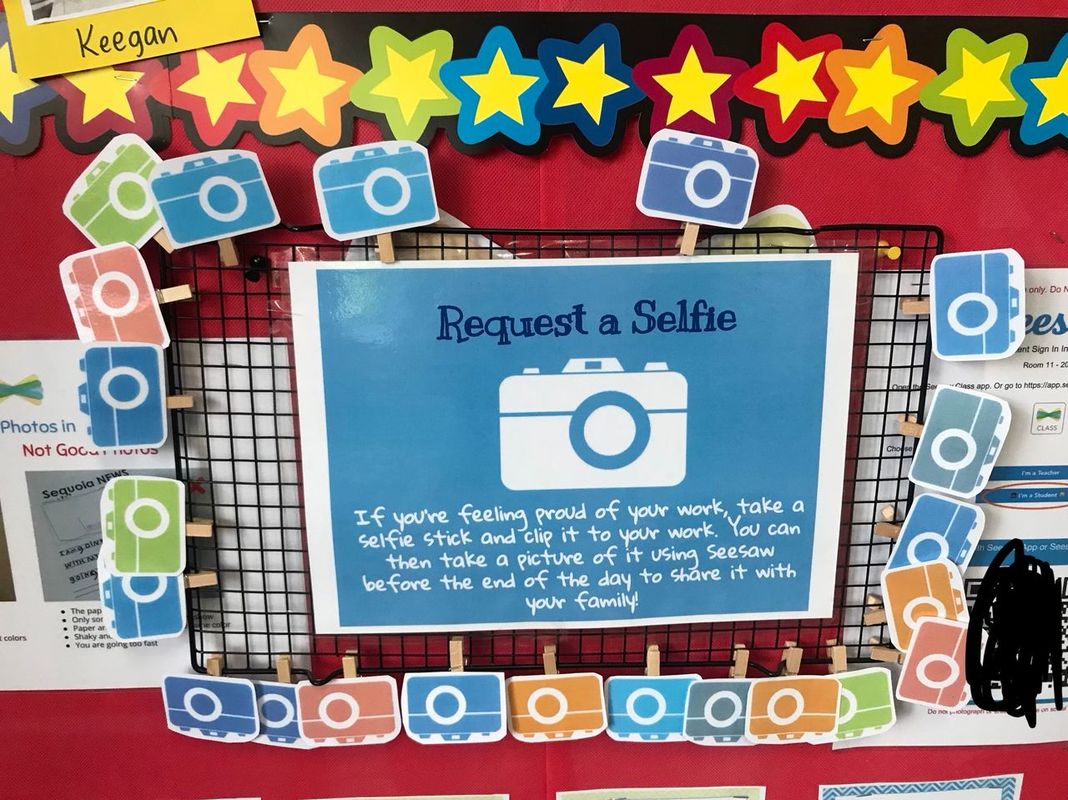
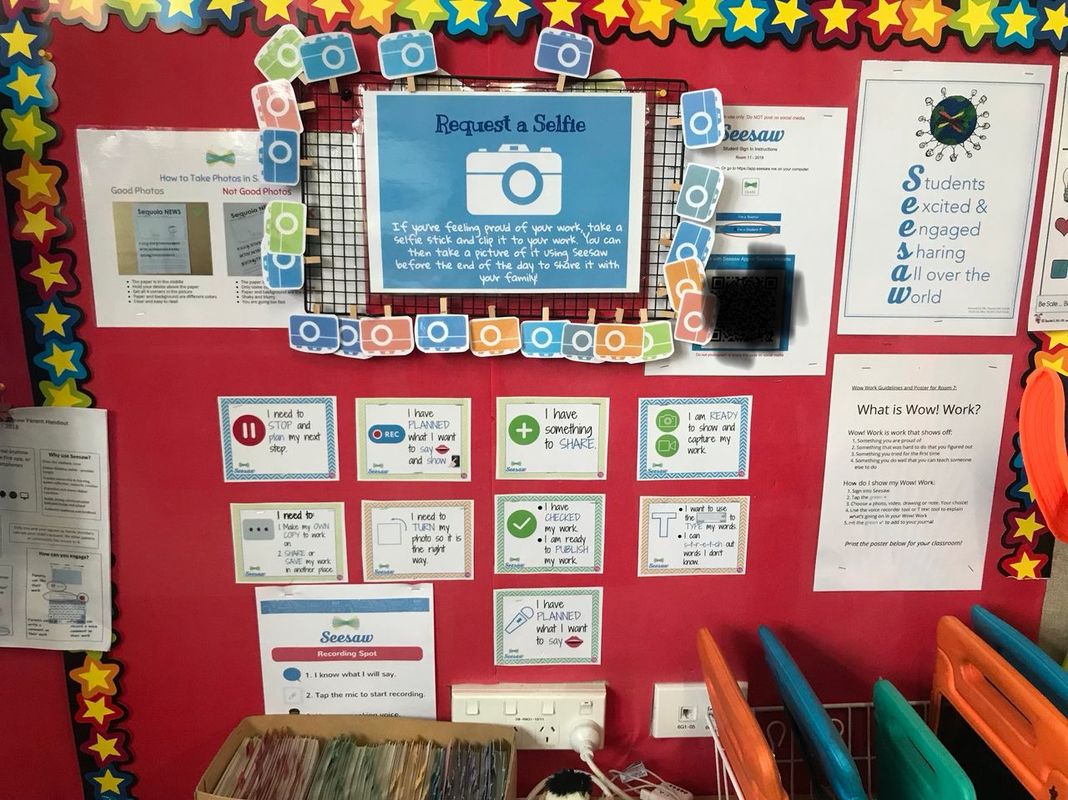
PicCollage is one of those fabulous apps that can be utilised in any curriculum area with your students! The possibilities are endless with using PicCollage so today I am going to share some quick tips on using PicCollage! I created these worksheets which are perfect for use with PicCollage or Seesaw! There is a little bit of everything inside this pack that can be used in both apps or just one! These worksheets are available for download from my Teachers Pay Teachers Store! Find the link here >> PicCollage and Seesaw Worksheets So let me walk you through how PicCollage works (just incase you haven't seen it before). PicCollage is basically a way to collage pictures (hence the name). It has some fabulous tools inbuilt into it! Each of these are accessible once you have chosen your picture. For this example, my students are working on a retell activity. They have their worksheet as the background, then will add drawings, pictures or text to fill in the parts. The tools you can use are: adding photos, searching the web for photos, adding text, adding stickers, changing the background colour and doodling (drawing). The first thing when using PicCollage and these worksheets is to choose your worksheet. This one here is a 'find the letter' activity that students would use to find things beginning with the letter of the week. Choose this as your background! To access the tools to add things click on the + at the bottom of your screen. You can see here I have used the 'doodle' feature to draw the letter of the week which is B. I then have inserted photos of things beginning with B from the web search and given text to each picture to explain what it is I have chosen. When you search for web pictures it is very simple! You type the word you are looking for in the search bar, look for your picture and simply tap it and then the tick! Your picture will then be added to your work and you can move it about or resize it to fit a space you have. When you have completely finished your work, tap the done button up the top and click save to library when it prompts you! Uploading your finished product to Seesaw is easy! Open up Seesaw, tap the green + and then tap camera roll. Choose your finished work from your camera roll and tap the green tick. Follow the prompts to finish adding it to your journal. You are done! Fantastic!! Easy to use and so much fun! This would be a Modification or Redefinition activity in the SAMR model as students are taking a usual drawing activity to a whole new level. Searching for images, using text, sharing it to a platform for feedback and connecting with other students in class by giving feedback! Here are two more examples of how I have used it in my class, with more to come! Hope you enjoy using PicCollage and Seesaw! Who does not love a good ebook!! Relaxing at night after a long day at work thinking how you can become an even better educator for your students! Look no further! I have just released my latest ebook talking about 40 ways to use Seesaw in your Classroom! It's an activity guide for educators!! This easy 42 page read will give you 40 ways, ideas and activities that you can use in your classroom to implement and use Seesaw with your students! You can download the pdf link here if you don't have itunes ebooks! Otherwise search my name 'Jordan Priestley' or '40 Ways to use Seesaw in your Classroom'! I just released my first ever ebook on iTunes for teachers looking to get started using Seesaw! Super exciting, yet scary to put myself out there like that and write something for others to read. This overview ebook was made to make Seesaw use and integration simple and easy for educators all over the world. Sometimes learning from a video or online webinar doesn't really make learning clear. So I have spent some time really thinking about how you can make it work for yourself with this overview. This overview covers all Seesaw aspects and is FREE to download from iTunes! If you are interested in reading this ebook, click here for the download link >> Seesaw: An overview for Teachers  Seesaw is a fantastic way to share student learning with family members, the community and others across the world. The features Seesaw has enables endless possibilities within learning and make it an amazing tool for the classroom. In my classroom, I have a Seesaw station where students can go to for help or prompting if they forget what the tools are. That helps my students develop their own responsibility for their actions, knowing they can go somewhere for help instead of always asking me. It also has copies of other relevant Seesaw information that my students might value or use. Last year, I came across some Seesaw visual prompts on Twitter that I currently use in my classroom (see above picture). These were designed by Pana Asavavatana - click on the link to view and download her version. As Seesaw has developed, so has its features. So I have created my own Seesaw visual prompts including some more prompts to help students in the classroom. Since photographing my Seesaw station I have added my new ones to the mix! My prompts are free from my Teachers Pay Teachers Store >> Seesaw Visual Prompts. Simply download and print, laminate and create your own Seesaw station too! My latest creation = Magic number of the day templates for numbers 1-100! Over 400 templates for every number from 1-100, with blank templates at the end for your to adapt/add numbers that you want. These templates can be used on Seesaw or Google (with instructions to follow in the first few slides) or just as a worksheet for group or independent work. Simply choose the number you want and the template you want your kids to use. Each template has different maths skills to show to meet the different needs/learning intentions your children can be working on. Check out the templates here >> 1-100 Magic number of the day templates This week I am sharing my letter of the week templates! These letter of the week templates are made on Google Slides, with one slide for each letter of the week. They target: -letter formation -letter order -writing words beginning with the letter -finding emojis beginning with the letter -finding words beginning with the letter These are great for reading or writing, to help students identify aspects of a letter of the alphabet. They can be used in Seesaw and uploaded as an activity, or simply printed out for students to work on in their books. 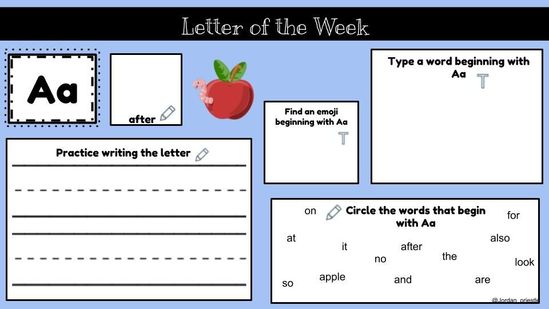 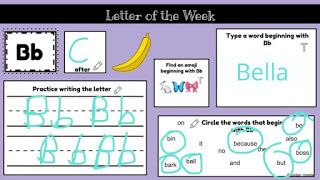 For this Sunday Spotlight I am sharing my Calendar/number of the day Maths google slides templates! These are designed to help my students in the number of the day/week but have different ways of sharing the number. There are five different templates for each month to differentiate for student needs. These are so easy to use and integrate into your class, whether you use Seesaw or Google apps or just looking for something extra they can use! These templates vary so that you can use with different ability students in different groups. Each one has different ways for your students to share their learning, depending on what you are focusing on and their needs e.g. the number before or after, finding on a number line, showing it with addition/subtraction. To make a copy for yourself, click on the link to the google slides templates here and then click 'make a copy' >> Daily Calendar/Number of the Day Maths Google Slides Templates. You will then be able to download the right template you need to use in your class whether you share it to your class in hapara or google classroom, share it as an activity on Seesaw or simply print it out and use it in guided maths groups or independent follow ups. Check out below for an example! Have fun using these in your classroom! Seesaw is AMAZING for students. But did you know it can be just as useful and fantastic for teachers?? Collecting evidence in photos, videos and links can be hard. And when you have to report against your appraisal or registration sign offs, trying to find it all can be difficult. So why not create your own Seesaw class to share your own professional learning? Just like a blog or wikispace - but better! And easier! If you already use Seesaw then it is just like a class for your students - but you are the student! Add teachers, team leaders, senior management as family members. Or use the blog tool to share your learning wider without the constant notifications and emails. Check out my slides on how you can easily make it work for you, to ease that workload and use it alongside your other Seesaw use! Find it here >> Using Seesaw for appraisal or evidence collection Using Seesaw but not sure how to integrate it into your maths programme? See my latest recording and online PD I ran for the teachers at my school. It will show you some ideas, tips and resources you can take away and use in your Maths programme. Watch the video recording where I walk you through how easy it can be to use Seesaw in your programme. Or go straight to the slides to see resources and links to things you can use tomorrow! Join my practice class through the QR sign in to have a play with the activities I created if you want to practice and have some fun! Click on the picture to go find out more information on the Using Seesaw within the classroom Google Site! 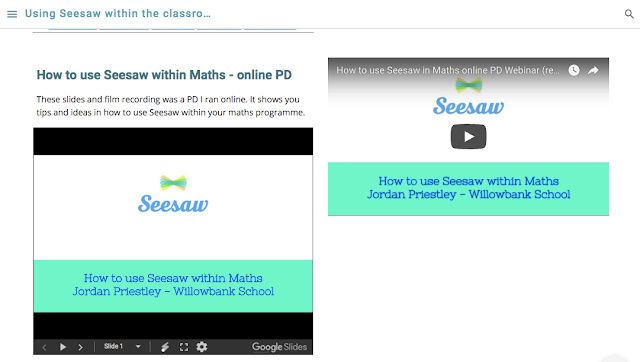 My passion at school is with using Seesaw. I came across it in 2016 and immediately saw the possibilities it offered for my class and school. We had been struggling with parent engagement and this learning journal app opened the door for new avenues with families and whanau. If you don't know what Seesaw is or how it works, check it out here at https://web.seesaw.me/. This year, we have moved into our second year of using it school wide. I personally feel my teachers have learnt a lot since implementing Seesaw and are becoming more competent users. For my strategic plan with ICT this year, I came up with an idea for Seesaw Week. This would involve 5 small challenges that students can complete and be awarded with a badge. This badge could be physical (printed out) or digital and be awarded upon completing the Seesaw challenge of the day. Seesaw Week's 5 challenges for 2018: Monday = Use the draw feature Use the draw feature to summarise a picture of something you have done today. Tuesday = Use the note template to fill in the answers to these questions with emojis: What is your name How old are you What is your favourite food What is your favourite animal What is your favourite colour Choose your favourite emoji Wednesday = App smash Use a different app on your device to complete an aspect of your work (reading, writing or maths) and share it on Seesaw Use the screenshot feature or app smash it through your app! Thursday = Write a comment on a friends work Use the voice comment or text comment to write a constructive feedback on their work. I like your…. This is great because… I love the way…. Wow! Your work is…. How did you…. Friday = Share your wow work Use the photo or video to take a picture or video talking about your wow work and why you are proud of it This is my wow work because…. If you would like access to the Seesaw Week plan my school will be using please click here to make a copy for yourself or view the activities >> Seesaw Week 2018 On Friday I participated in #seesawchat which is a fortnightly chat run by Seesaw. As you know, I am Seesaw crazy and love sharing what I do with Seesaw and how others use it in their class. Seesawchat is a great way of getting involved with others across the world and this weeks chat was focused on goal setting and tracking. The last question was around how we as teachers use Seesaw to track our own learning or goals. In 2017 I started my own personal Seesaw journal for myself to use as an evidence gathering and sharing portfolio. In New Zealand, we need to collect evidence of the 6 teaching standards to show we are continually working on upskilling and staying relevant. I shared a screenshot of my portfolio and have since had so many people DM me about what/how I use it. So I thought this blog post might be relevant! 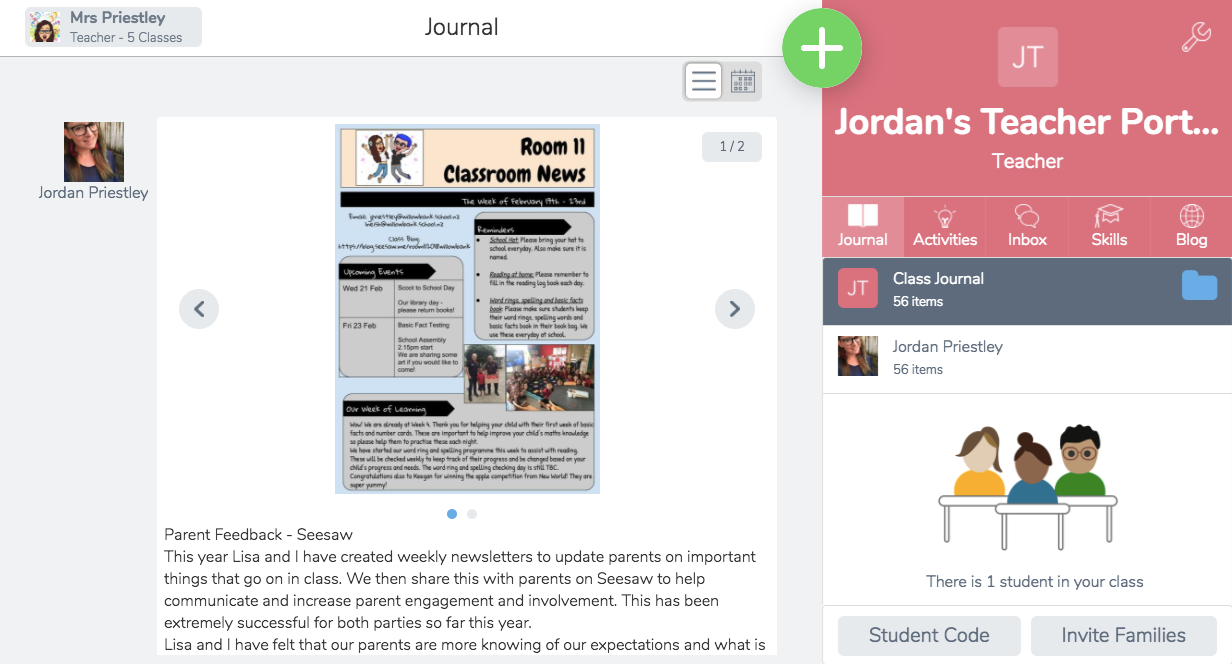 Here is a screenshot of my Seesaw teachers portfolio. Im the only student in my journal as it's just for me to sharing my own learning. My senior leaders and team leaders have access to it to be able to see what i am sharing. Basically I use it to upload anything and everything related to the 6 teaching standards New Zealand have. I keep them linked using the 'folders' feature on Seesaw. Its a great way to tag the posts I upload and I can use the folder search to look at particular folders for evidence. 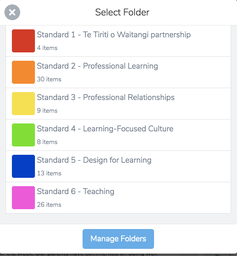 As you can only have up to 10 family members signed onto a journal, I needed to think of a way of being able to have more than that on my journal. Then I realised the perfect seesaw feature - the seesaw blog! I use everything that I post in my Seesaw journal and share it onto my seesaw blog. Such a easy way to make sure everyone at my school can view it and be involved. It is password protected (to ensure my confidentiality) and to make sure others are not viewing my private goals or documents. I have used blogger and wikispaces before this. And was a passionate blogger user up until I came across Seesaw 3 years ago. I hadn't thought of using this for my own professional development until 2017 when it just sort of clicked. I use Seesaw all the time for my students so why not for myself? And the google drive integration is perfect for sharing things I am working on. If you have any questions on how I use this in specifically please contact me info@mrspriestleyict.com. I'd be more than happy to share and talk with you! 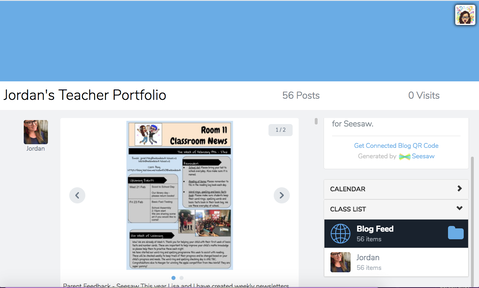 The 2018 school year just started back on Wednesday! It has been a very hectic last 3 days of routine implementation, getting to know students, learning about them and what makes them tick, and trying my best to begin ICT implementation and Seesaw. I found that many of the students I have this year to have a limited experience of using Seesaw, despite being implemented school-wide. This has caused me to rethink how I have provided teacher PD on Seesaw but also how to make it more clear for students to see. So I created this Seesaw wall in class with clear resources for the students to use, to help with the implementation of this. I used the resources you can download from @PanaAsavavatana to use as a troubleshoot when they are unclear of a tool or its purpose. They are amazing posters that explicitly explain the tools of Seesaw. I also used the 'request a selfie' product from that I created (see previous post) to engage my students in taking ownership of their learning to share on Seesaw. 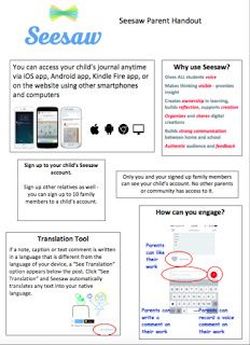 In NZ we are just about to head back to the new school year! We are all so excited about starting our new classes and a priority for me is getting Seesaw up and running. In the school wide PD session I ran last week, we talked about making sure parents and families are connected to their child's journals from the first day. This will foster the home-school partnership and ensure the success of Seesaw over the year.
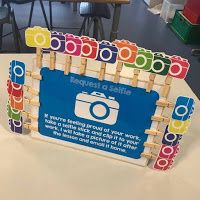
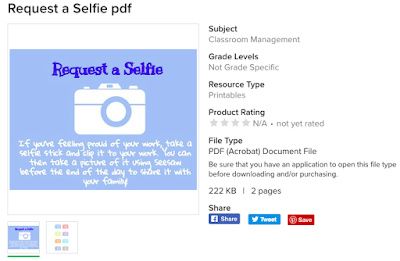
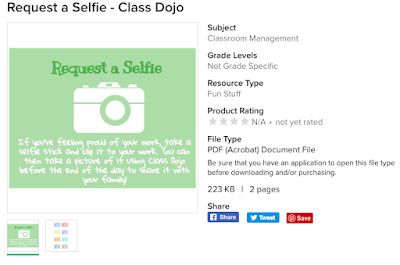
But sometimes parents are a little apprehensive over what Seesaw is and how it works. So for the parents at my school, I created this handout which explains what Seesaw is in. Its double sided, with a scattering of information on all the important parts about Seesaw. In our first Seesaw Parent meeting in 2017, parents received this handout and found it very useful when starting out on the Seesaw journey. If you would like to download a copy of the letter please click here >> Seesaw Parent Handout I came across this image on Facebook and Twitter but couldn't find a pdf version to download. Me being the creative quick ICT guru, I made my own version on google drawing! It was easy to make and I added it onto Teachers pay teachers for people to be able to download. I get a real sense of satisfaction, knowing that what I make is being used by others. I love making things that people want and can use in their classroom. If you would like to download your own copy, click on the link here >> https://www.teacherspayteachers.com/Product/Request-a-Selfie-pdf-3614003 Update! As some people use Class Dojo to share their learning, i had a request to make one for Class Dojo. So if you would like the words to say using 'Class Dojo' instead of the Seesaw one, you can download that here >> https://www.teacherspayteachers.com/Product/Request-a-Selfie-Class-Dojo-3615191 |
AuthorMrs Priestley ICT blog is a place to read, download and view ideas! Archives
February 2024
Categories
All
|


 RSS Feed