|
PicCollage is one of those fabulous apps that can be utilised in any curriculum area with your students! The possibilities are endless with using PicCollage so today I am going to share some quick tips on using PicCollage!
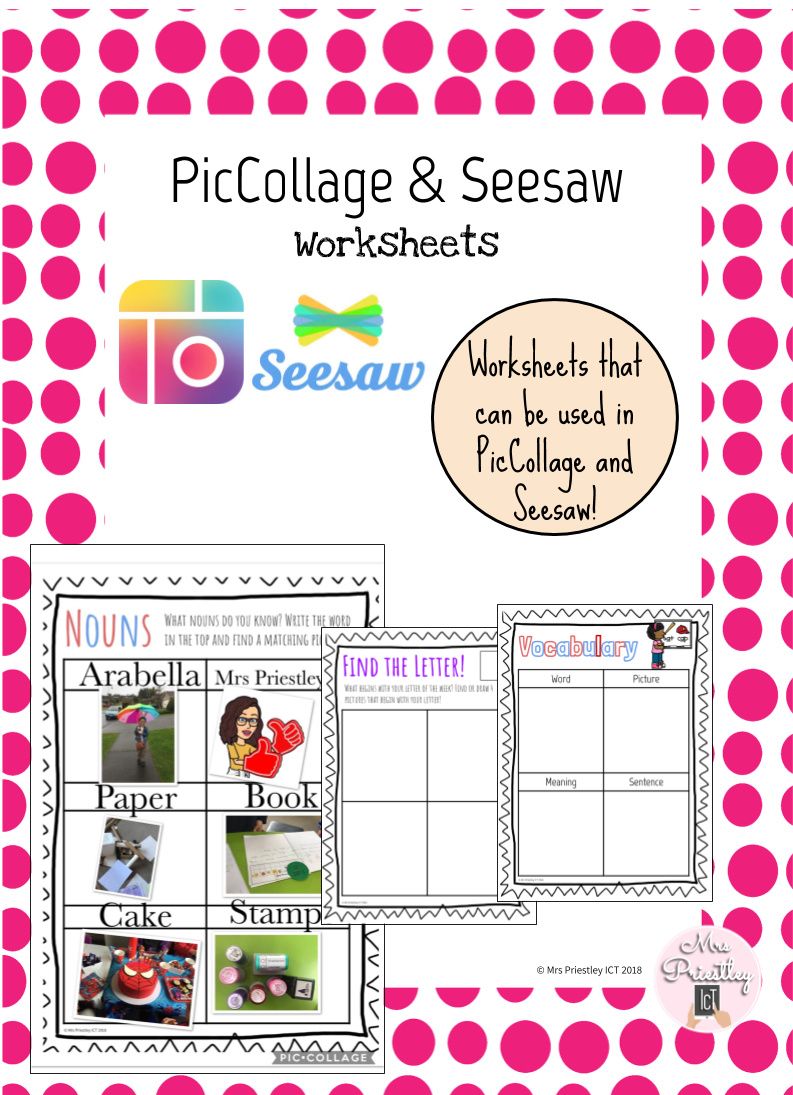
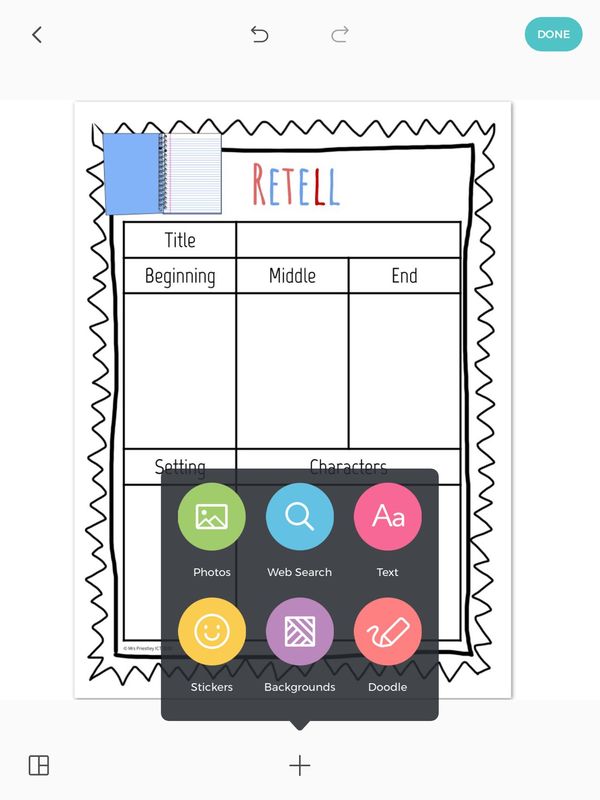
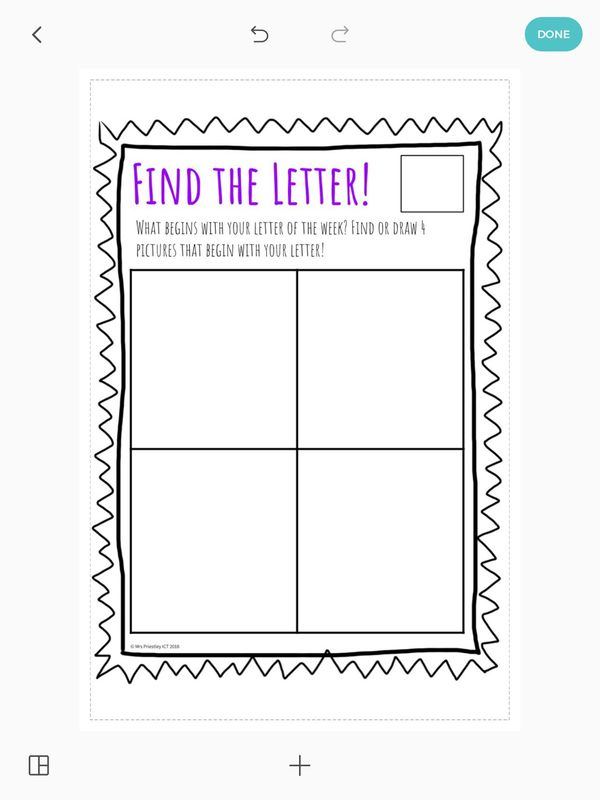
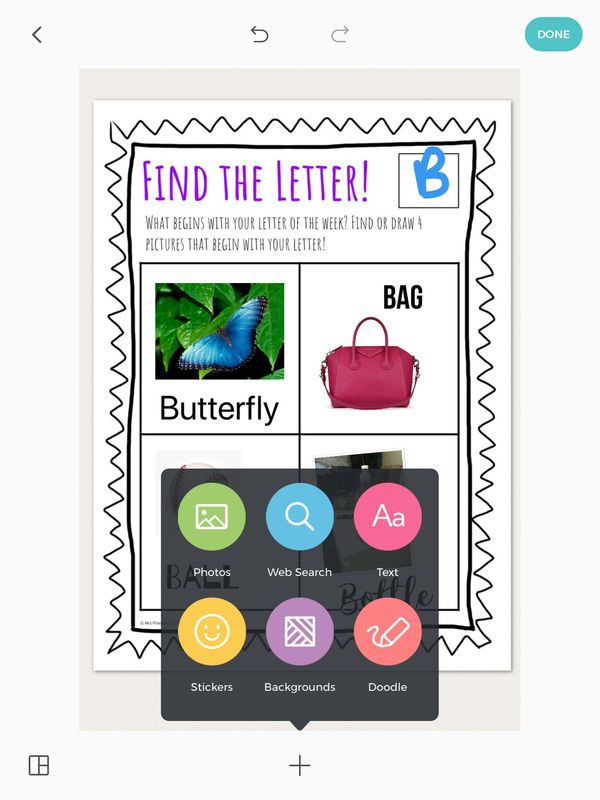
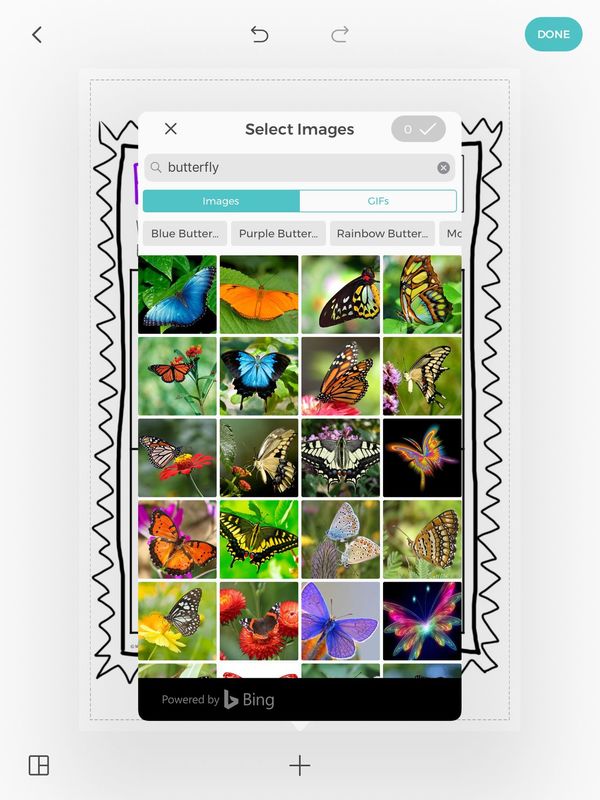
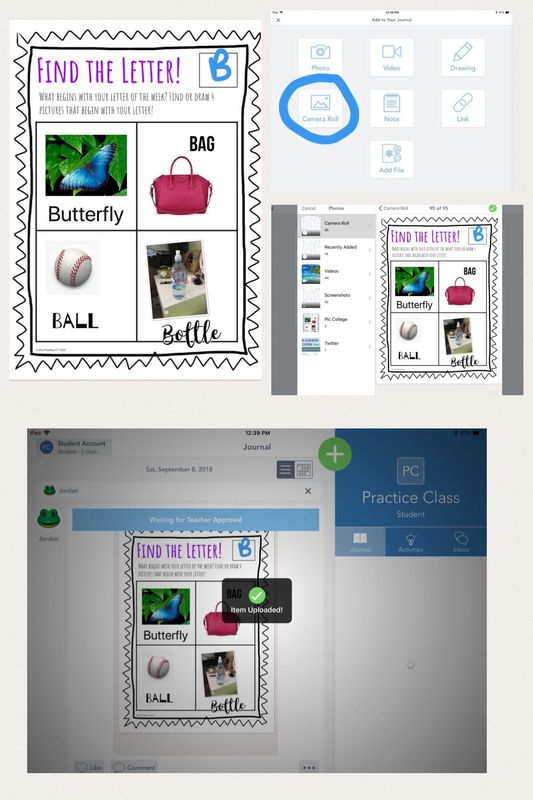
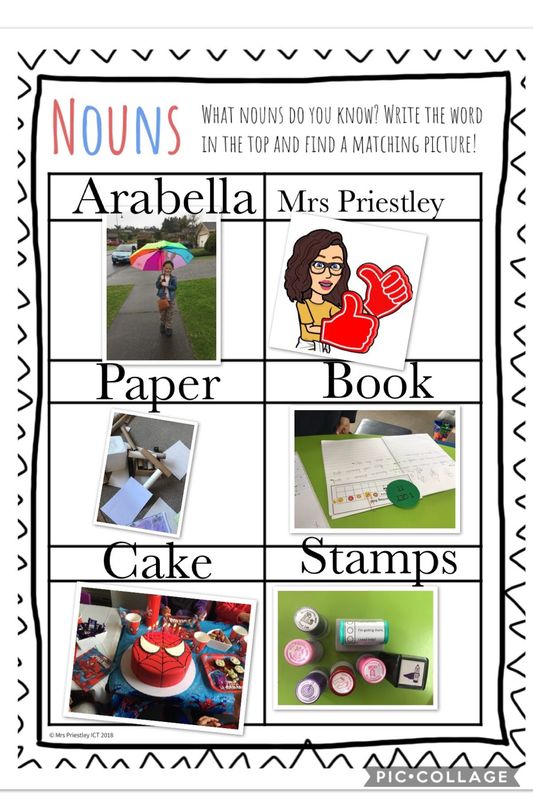
I created these worksheets which are perfect for use with PicCollage or Seesaw! There is a little bit of everything inside this pack that can be used in both apps or just one! These worksheets are available for download from my Teachers Pay Teachers Store! Find the link here >> PicCollage and Seesaw Worksheets So let me walk you through how PicCollage works (just incase you haven't seen it before). PicCollage is basically a way to collage pictures (hence the name). It has some fabulous tools inbuilt into it! Each of these are accessible once you have chosen your picture. For this example, my students are working on a retell activity. They have their worksheet as the background, then will add drawings, pictures or text to fill in the parts. The tools you can use are: adding photos, searching the web for photos, adding text, adding stickers, changing the background colour and doodling (drawing). The first thing when using PicCollage and these worksheets is to choose your worksheet. This one here is a 'find the letter' activity that students would use to find things beginning with the letter of the week. Choose this as your background! To access the tools to add things click on the + at the bottom of your screen. You can see here I have used the 'doodle' feature to draw the letter of the week which is B. I then have inserted photos of things beginning with B from the web search and given text to each picture to explain what it is I have chosen. When you search for web pictures it is very simple! You type the word you are looking for in the search bar, look for your picture and simply tap it and then the tick! Your picture will then be added to your work and you can move it about or resize it to fit a space you have. When you have completely finished your work, tap the done button up the top and click save to library when it prompts you! Uploading your finished product to Seesaw is easy! Open up Seesaw, tap the green + and then tap camera roll. Choose your finished work from your camera roll and tap the green tick. Follow the prompts to finish adding it to your journal. You are done! Fantastic!! Easy to use and so much fun! This would be a Modification or Redefinition activity in the SAMR model as students are taking a usual drawing activity to a whole new level. Searching for images, using text, sharing it to a platform for feedback and connecting with other students in class by giving feedback! Here are two more examples of how I have used it in my class, with more to come! Hope you enjoy using PicCollage and Seesaw!
2 Comments
Christine Brisson
3/22/2019 12:57:14 am
Hi, Is it possible for you to share the student’s template for the activity Coding? I teach in french and would like to translate the activity? Thank you!
Reply
Leave a Reply. |
AuthorMrs Priestley ICT blog is a place to read, download and view ideas! Archives
February 2024
Categories
All
|

 RSS Feed
