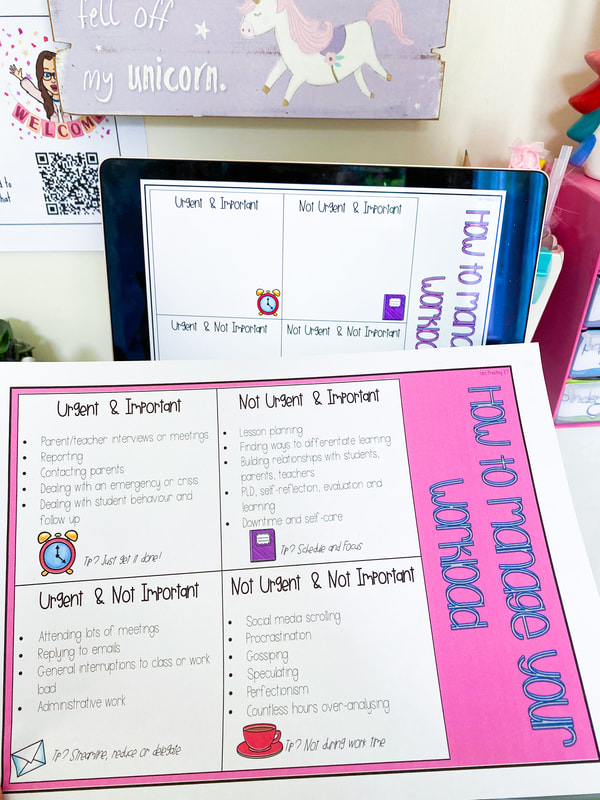
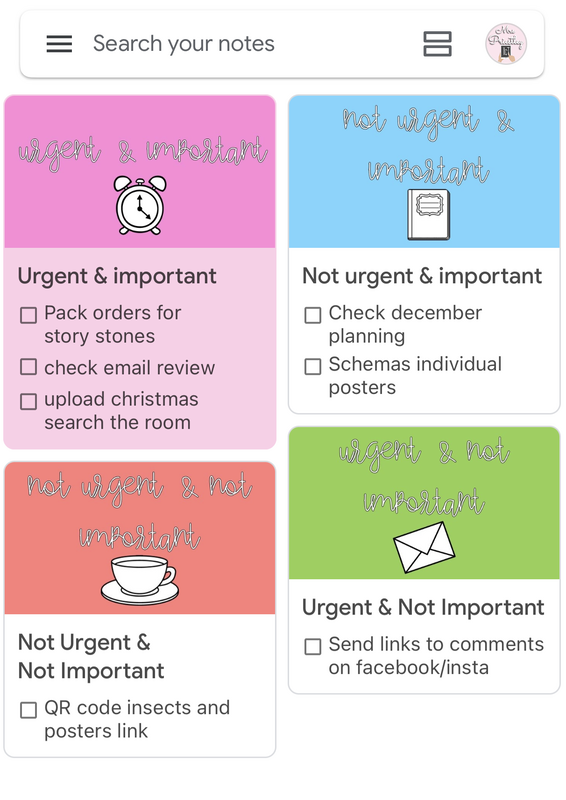
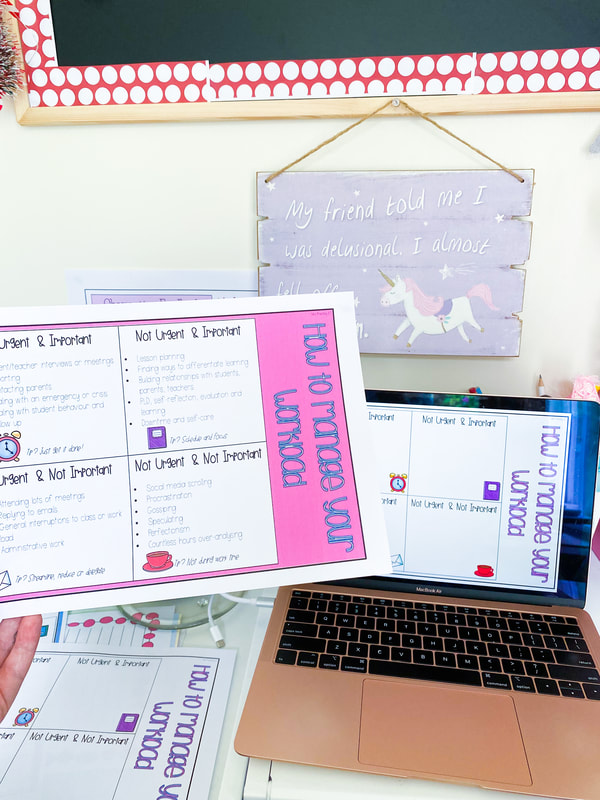
I have also created a range of Google Keep headers to match this type of format if this is something you are looking to switch too. These are free to download via the link below.
6 Comments
❗️Have a laptop? You NEED these digital Stage 1-6 number knowledge presentations 💻 Long awaited & perfect with the freebie of the week….a set of number knowledge presentations that automatically rotate through questions for kiddies! 👌🏼 Use these in your classroom to: 💬 prompt discussion 🧮 as a hot spot or warm up ✅ check on learning & more!!! Available individually for each Stage or as a bundle! Perfect for kiddies working on Stage 1-6 of NZ curriculum! ❤️ Love this? Let me know below! ⬇️⬇️
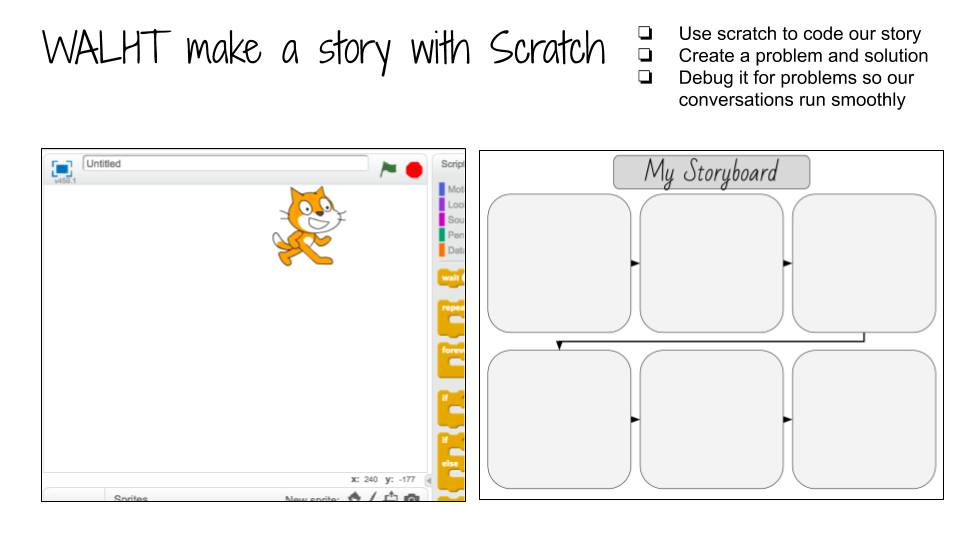
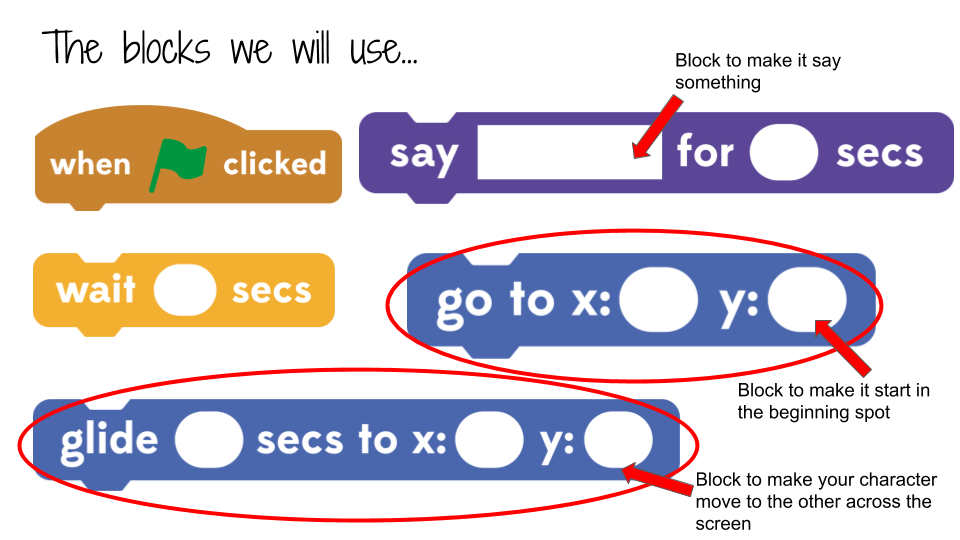
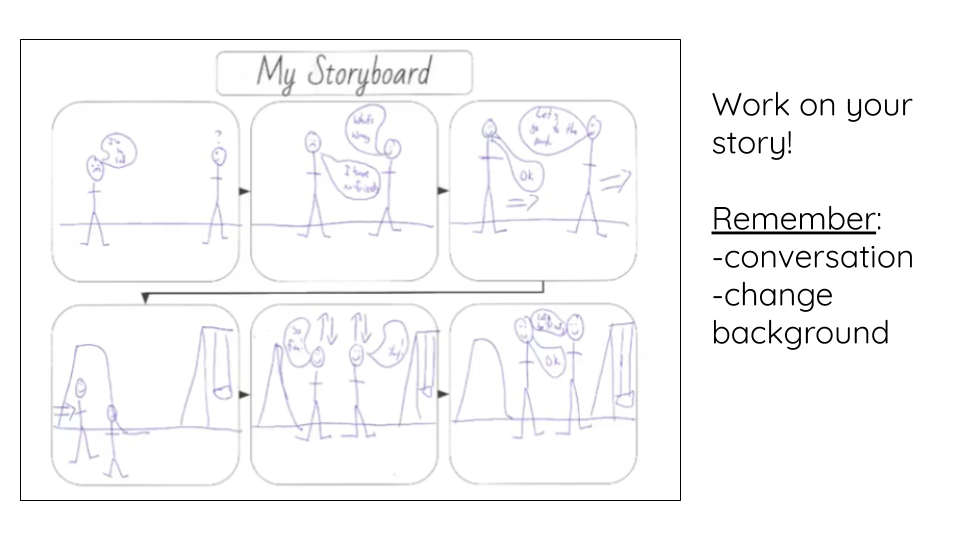
I was asked recently about some resources that I knew of that could be used to unpack digital technologies in the classroom and remembered this fun lesson! It took a good three-four weeks to teach, as it was broken down into smaller chunks; like you would when you wrote a story. I managed to stumble upon the slides I created for the lessons; making sure I modelled how to do it for the students also in my lessons. We used a storyboard planner to plan our stories, I taught my classes the blocks needed in the modelling sessions and then we put the series of lessons together to have a story completed! Lots of fun, and the students loved it!
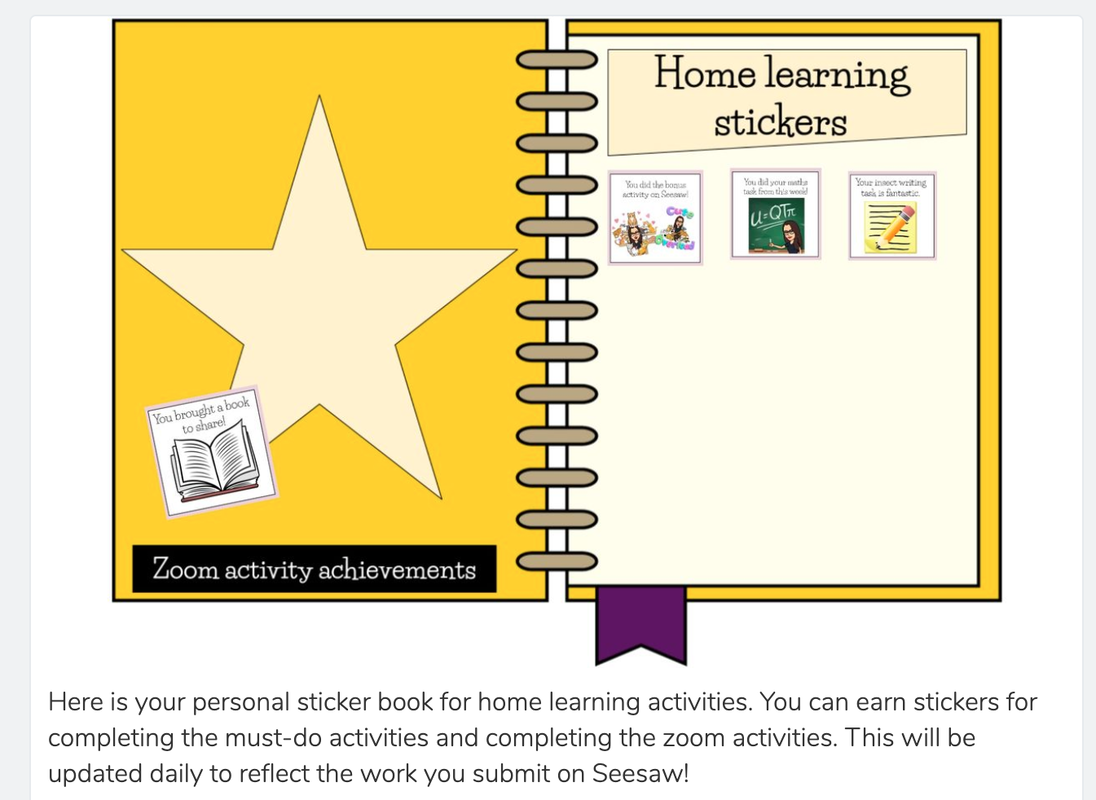
With New Zealand going back into lockdown, many teachers are back to using distant or online learning to keep the learning happening. Part of the first lockdown we had here, I shared info on how to create your own sticker books and stickers for Seesaw and motivational rewards. These can be updated each day or based on the activities students complete and be a way of keeping students involved or interested in their learning. I have created a video below on how to find and access past Seesaw sticker books; with links to how to create your own sticker book using my template and sticker templates. This second video is of the amazing new update to Seesaw! You can now link directly to Seesaw activities for students to complete without having to go through the activity portal. Before it was hard to get students to complete activities online by simply talking about where to go, how to access it and using visuals as prompts. Now you don't need that - you can generate the student link and share it with them directly. They get taken straight to the activity to complete and then can fill it in! So easy and handy. Check out my video showing you how to do it!
What technology did we use?
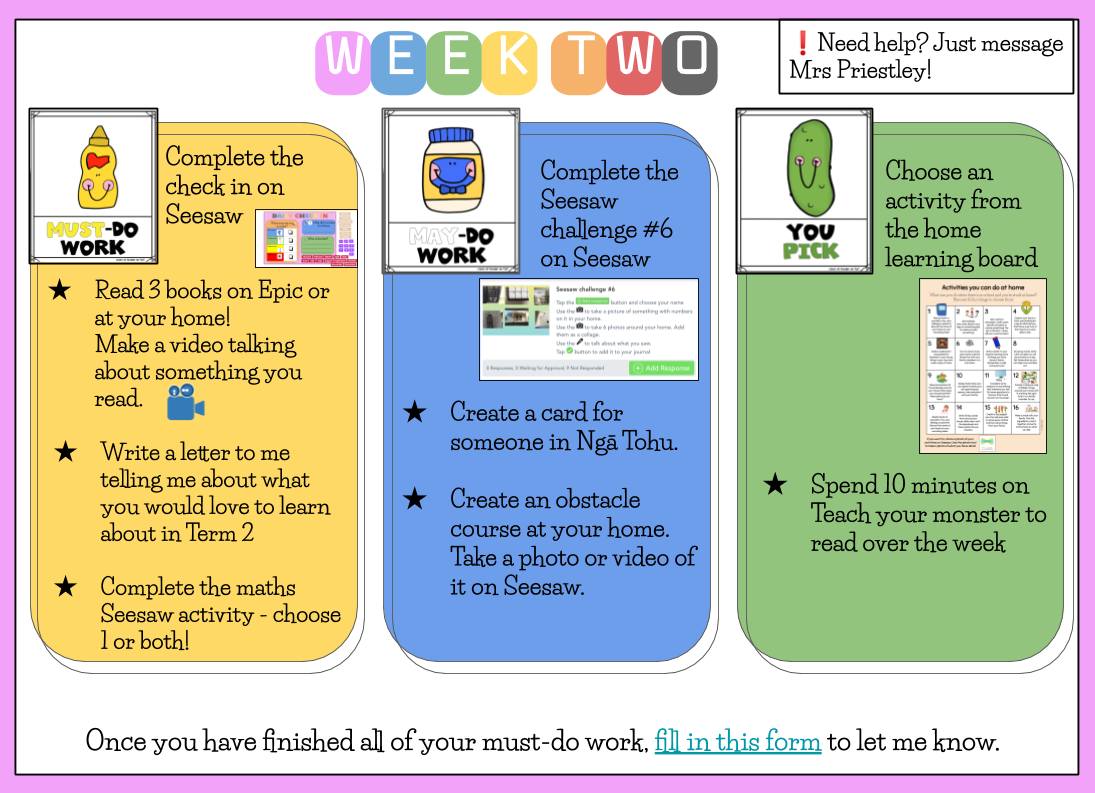
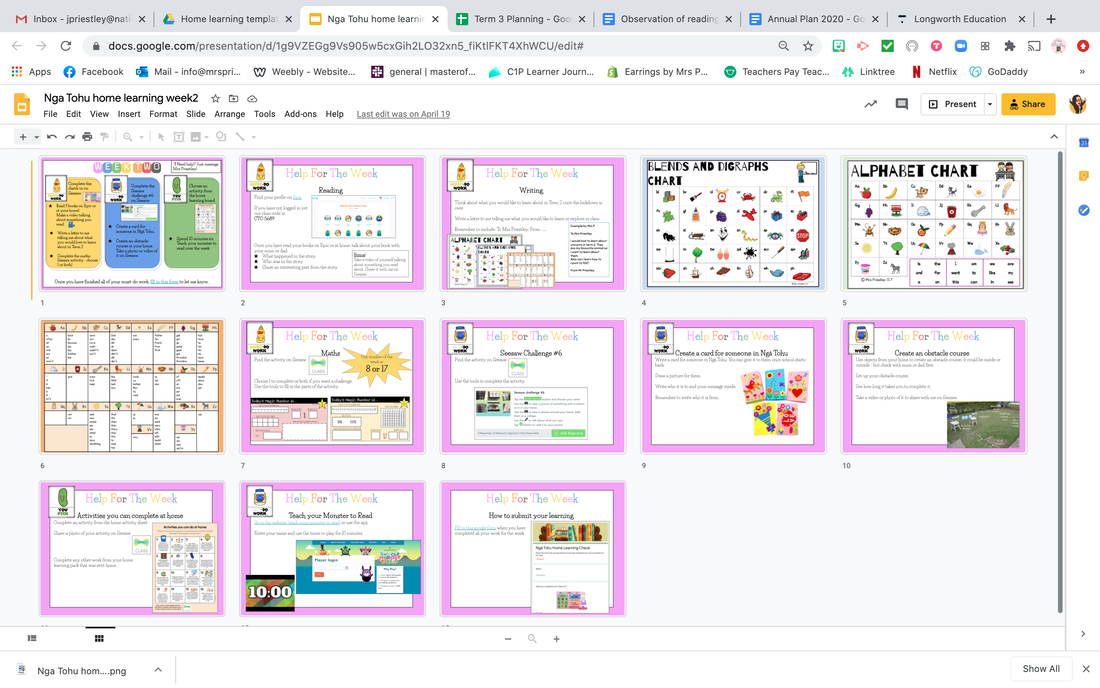
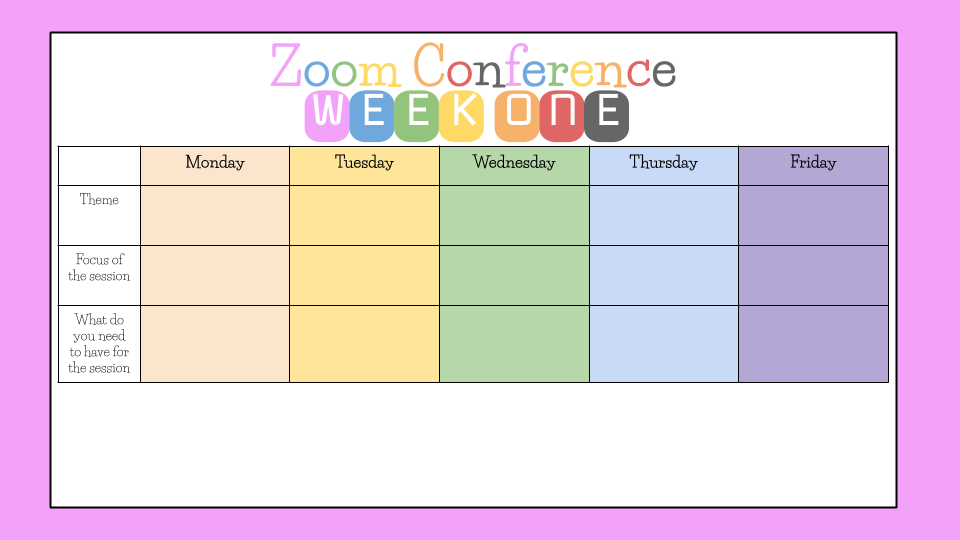
The must-do activities were usually one reading themed, one maths themed, one writing themed and then a check in. There were also two different variations of the choice board which differentiated for needs, with students being able to choose 1, some from both or all options. This was a Google slide that was embedded into our Google site and had all the links on it for students to use. There were screenshots of activities and specific key help for parents to be able to support the learning happening. I also talked through this every Monday so students could see the learning that was happening and the activities for the week. How did it go? Overall I really loved the online learning. Anything technology I thrive off and found it a great opportunity to stretch my learning, change my practice and use technology to enhance learning. Yes it was hard (which I will share below) but I feel my students didn't regress too much in the time we didn't have in class. I had 90-100% attendance in every online zoom session, with students being prepared for the session by bringing the materials, being present and engaged online and using technology in a new way we might not have before. The learning was completed regularly by 72% of my students with many doing parts here and there. Of course I wanted them to be happy so there was no expectation for it to HAVE to be done. The 1:1 sessions were always booked each week and were used to target students in discussion with parents. Any downsides? Yes of course there were some which every teacher faced!
Want even more ideas and in depth on what I did? Check out my online PLD recording that I ran in April! Freebies for your online learning Google apps are a great tool to use in the classroom - regardless of your age of students. They are free to use, multi-purpose and allow for creative opportunities in the classroom. Google incorporates a range of apps like docs, sheets, slides, drawings, sites and more! Each of these can be used in many different ways depending on your age and students you teach. Here I will share five simple ideas for using Google in your classroom! I have used Google forms for lots of different curriculum areas, especially in maths or data gathering. I love using it to gather voice and then create data sheets to show the information that is displayed. Check out a few examples of Google forms in use below.
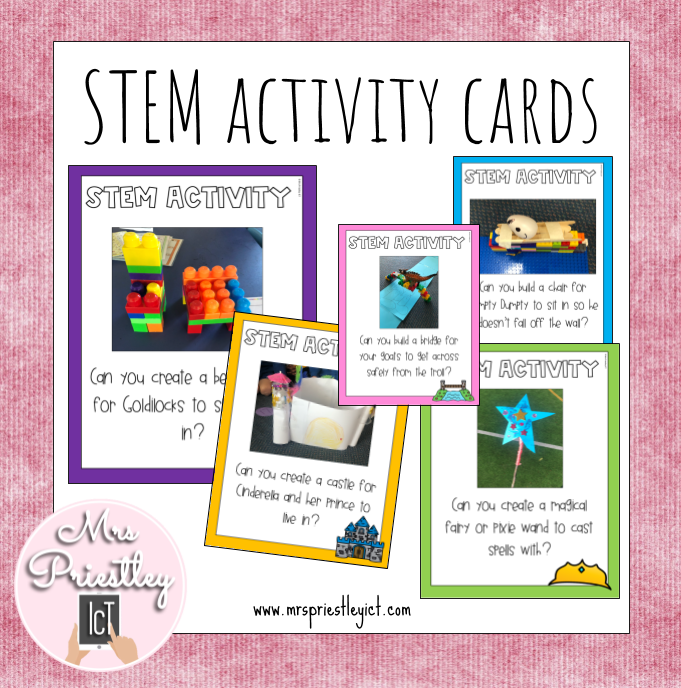
I love STEAM or STEM time (whichever you prefer to say/use) and have created these task cards to bring STEAM or STEM time into your classroom with a fairy tale/nursery rhyme theme. This resource is something I am really passionate about, as are my kids! How these have been working is we watch a matching video clip or story from Youtube. We have some thinking and question time to connect with the story and the activity that we will be working on. I then give students the activity prompt and we discuss what it could look like. Of course aspects like class materials need to be talked about especially if there is something you do/don't want students to use while completing the activity. Check out some of the pictures of my class creations with the activities!
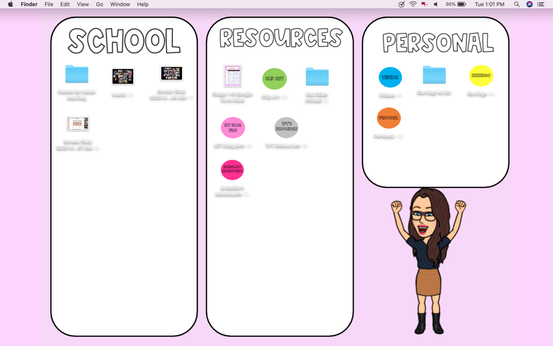
The bitmoji craze is continuing, this time with desktop backgrounds! These are so fun and just another way of integrating Bitmoji into your lives. You can design these anywhere - on drawings, slides, powerpoint. Done with text boxes, shapes and background colours. So fun, easy to personalise & add bitmoji to your computer desktop background. You could combine bitmoji desktop backgrounds with personalised folders too to add more excitement to your desktop.
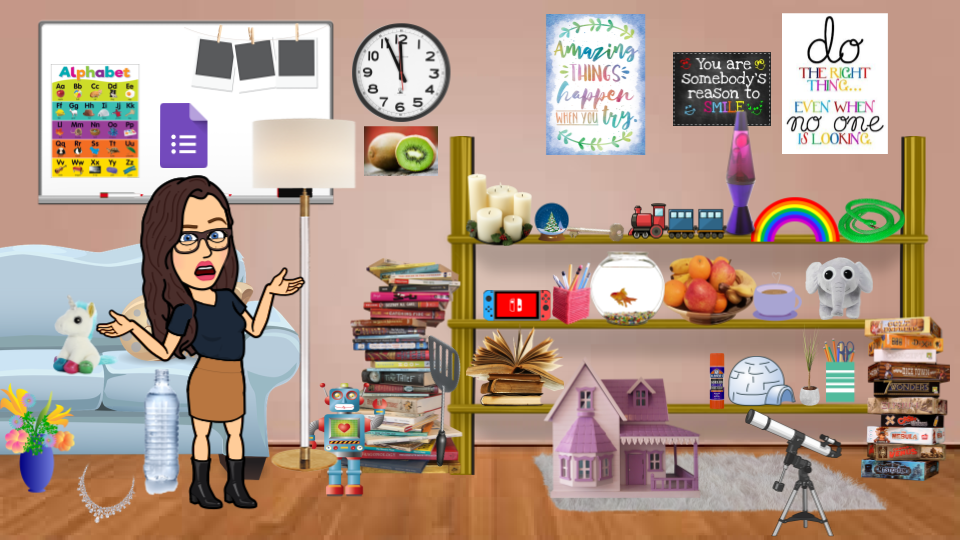
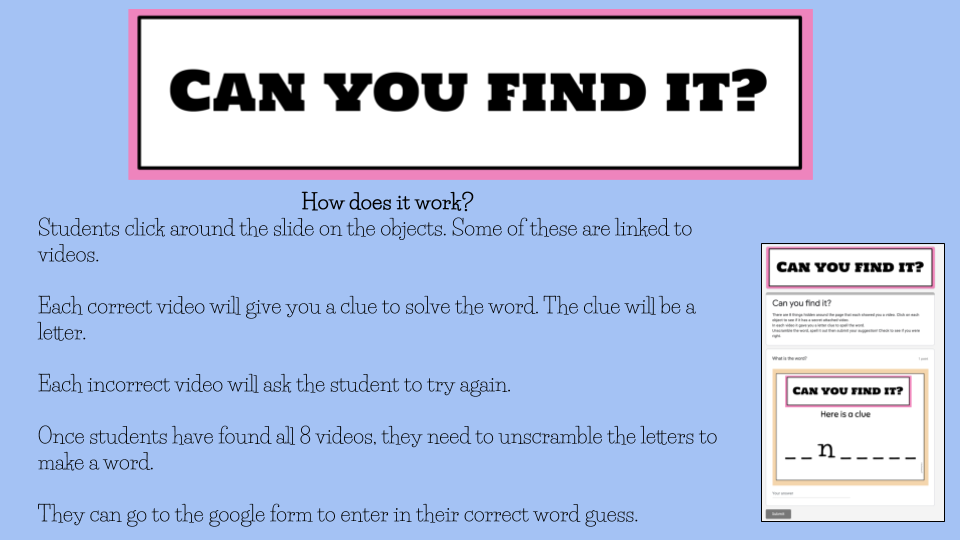
Want to preview/play mine? bit.ly/canyoufinditbitmojimrsp
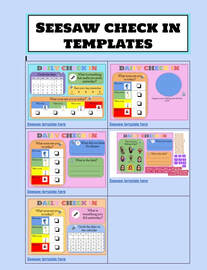
Want the template to change/build your own? bit.ly/canyoufindittemplate I was asked by Rob Clarke from Learning Architects to do a guest blog post on their website. I was so honoured and excited as this is my first type of post on a website that isn't my own. In this blog post I talk about using daily check-ins for distance learning. Something I have and continue to use all the time in my programme. I find them hugely valuable and important to gain an insight into the child and their wellbeing.
Read the blog post below on why I use check-ins plus links to some templates! I have now got four videos showing how to insert emojis on an iPad, chromebook on google docs, chromebook on seesaw and macbook! All of these are easy to follow tutorials that show you how to get them inserted. If this is something you didn't know about - then tune in to one of these below to learn how!
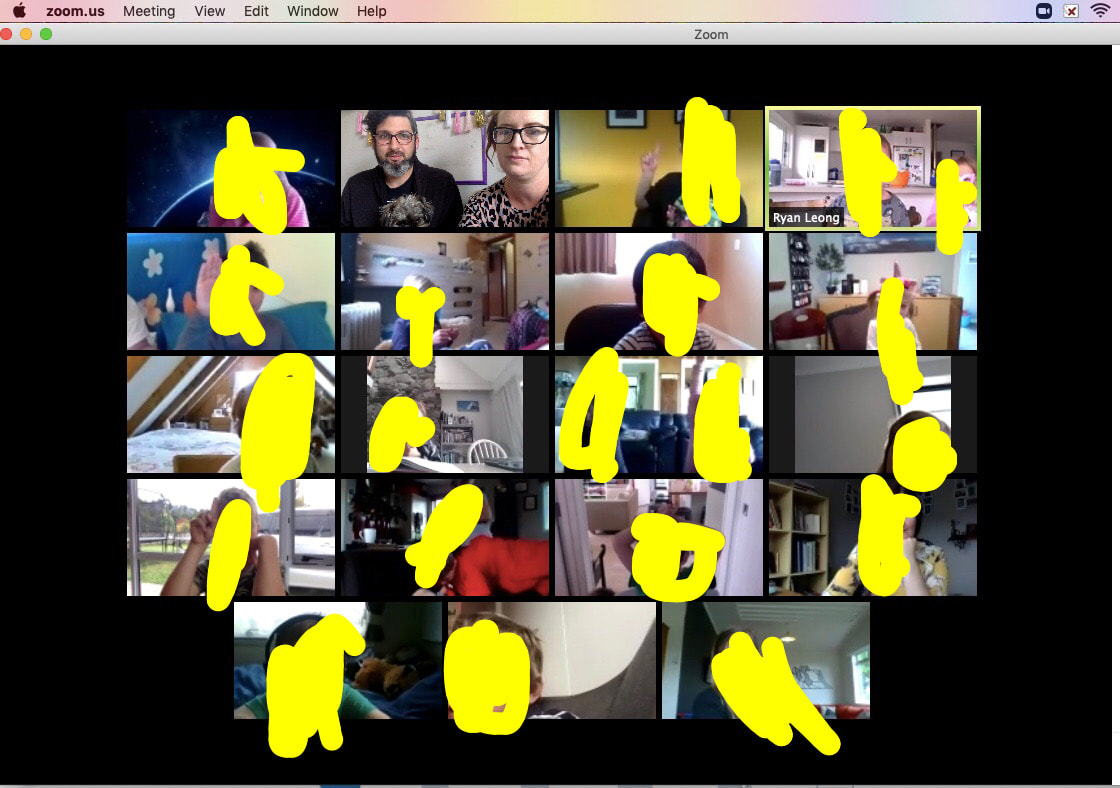
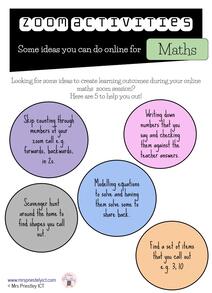
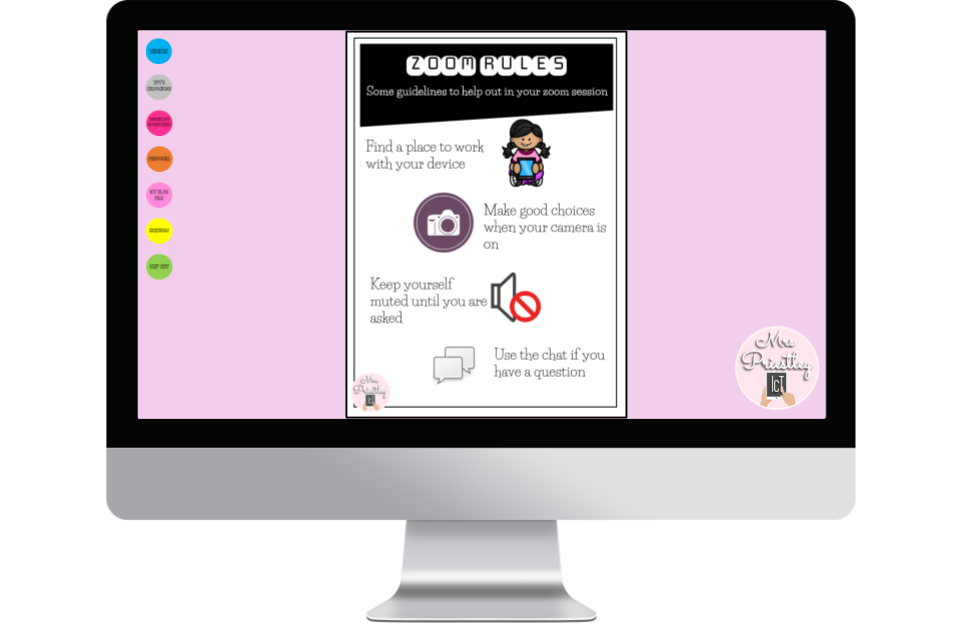
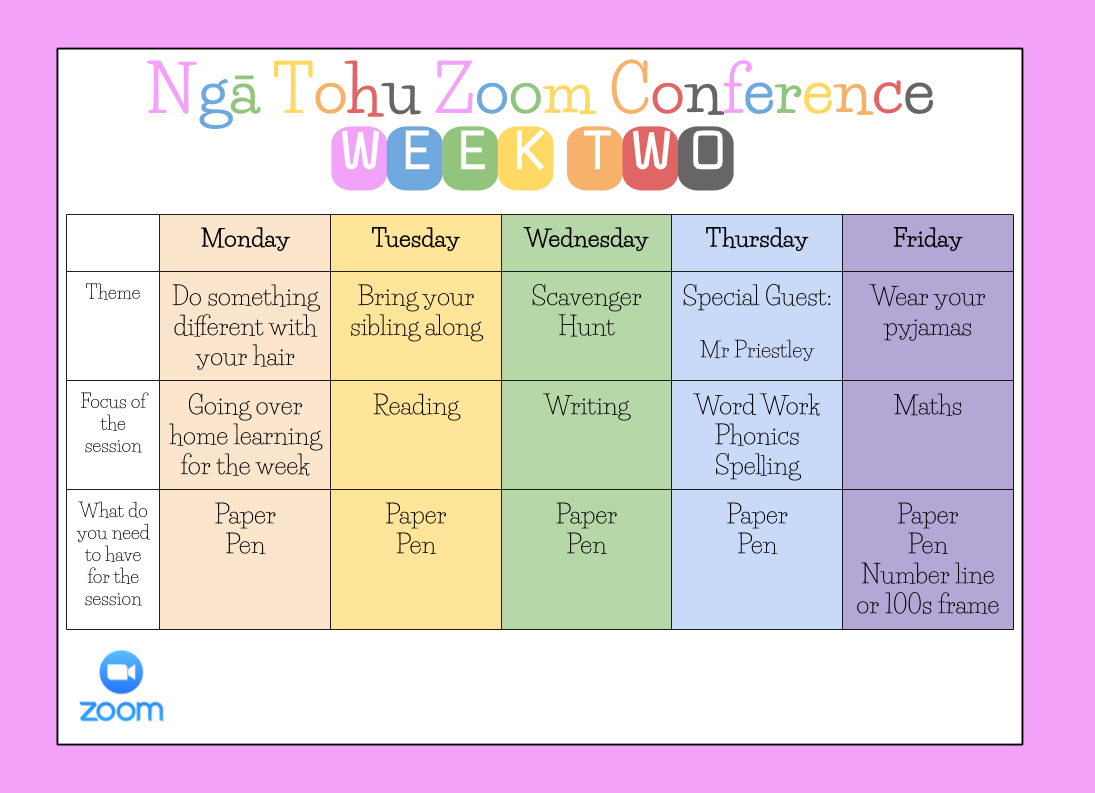
During this lockdown, teachers have needed to adjust, make changes and reflect on practices that have or have not worked for them. Everyday we are learning as professionals what will work for our students online in this distant home learning, and what also is just a complete fail. Communication has been a huge part of this, with many using zoom to connect, teach & continue to build skills with our students.
In my zoom sessions I do model a lot of my learning so my students can see, hear and have me explain what is happening. This is modelled through my iPad, air played to the session in my zoom. I have found this very helpful in helping connect my students to the learning and also to ensure I am being clear in my learning. Check out this video tutorial below that shows you how I use screenshare and annotation apps/software during a zoom conversation. I came across this Bitmoji scene from a lady on a facebook group I follow. This amazing idea is such a fun and creative one using your Bitmoji. There was a tutorial that I followed to make my own but then I couldn't find the post again. So I just created my own tutorial instead. Many people are using this for Google classroom, seesaw posts or just updates for students to add excitement or difference. Check out my example below and tutorial you can watch to make your own!  Yesterday I ran the second of my online PLD around Seesaw. This time is was focusing on Seesaw activities, explaining how to find them, save them and create them for yourself. This was modelled via the zoom online recording and recorded for those of you that might not have been able to make it. I also shared a whole lot of recording templates and seesaw activity templates than can be used for creating Seesaw activities. Check out the online recording below and the slide deck attached at the bottom for yourself. |
AuthorMrs Priestley ICT blog is a place to read, download and view ideas! Archives
February 2024
Categories
All
|
||||||||||||||||||||||||||||||||||||||||


 RSS Feed
