|
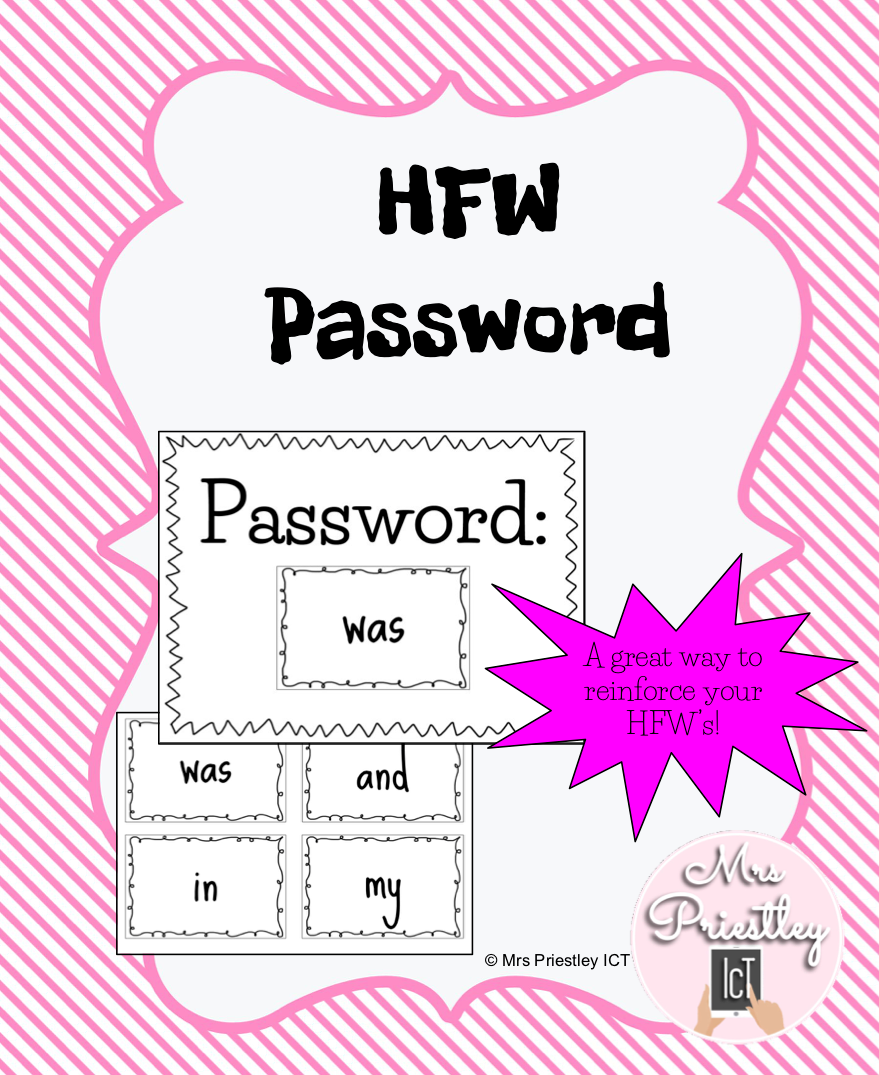
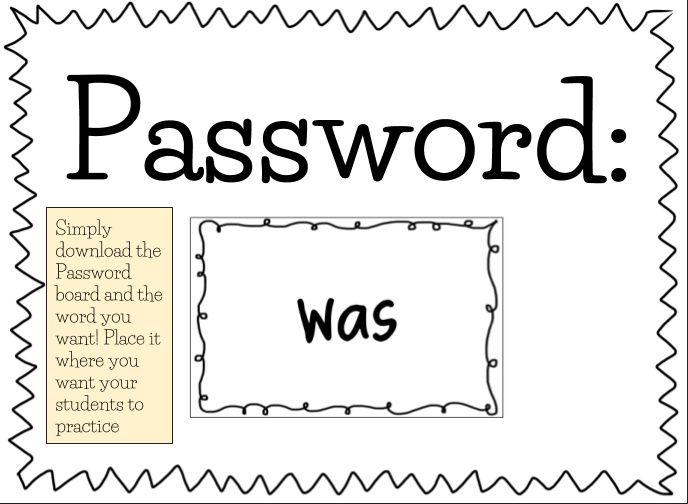
This Sunday Spotlight is sharing a new high frequency word activity to help reinforce sight word knowledge or recall! This is so much fun and easy to set up in your classroom! Simply print off the password board, choose the word you are focusing on and print that off too. Place the password board somewhere in your class and you're away! I love putting mine near the exit door for students to say as they walk past! This pack has 172 common sight words to choose from to get you started with this activity! Find the resource on my Teachers Pay Teachers Store or click on the link here >> HFW Password
0 Comments
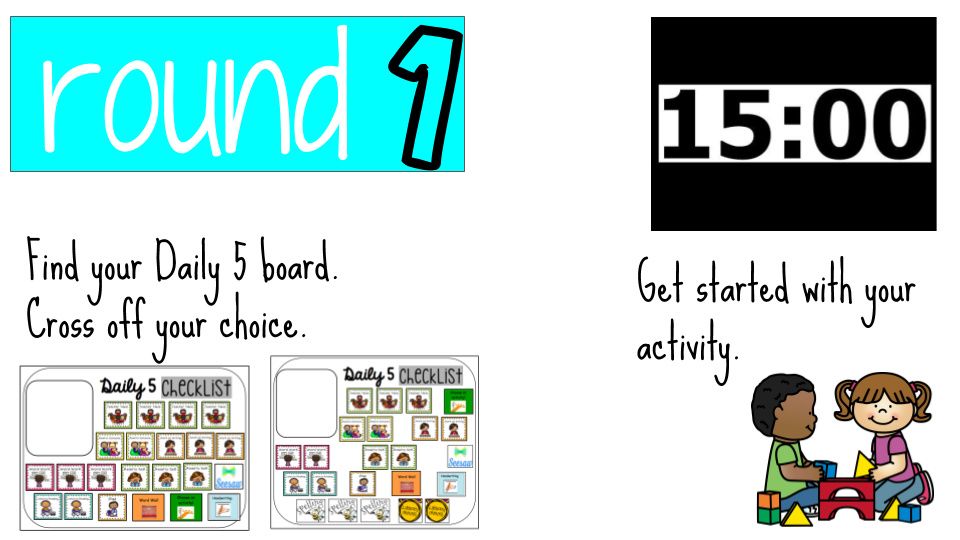
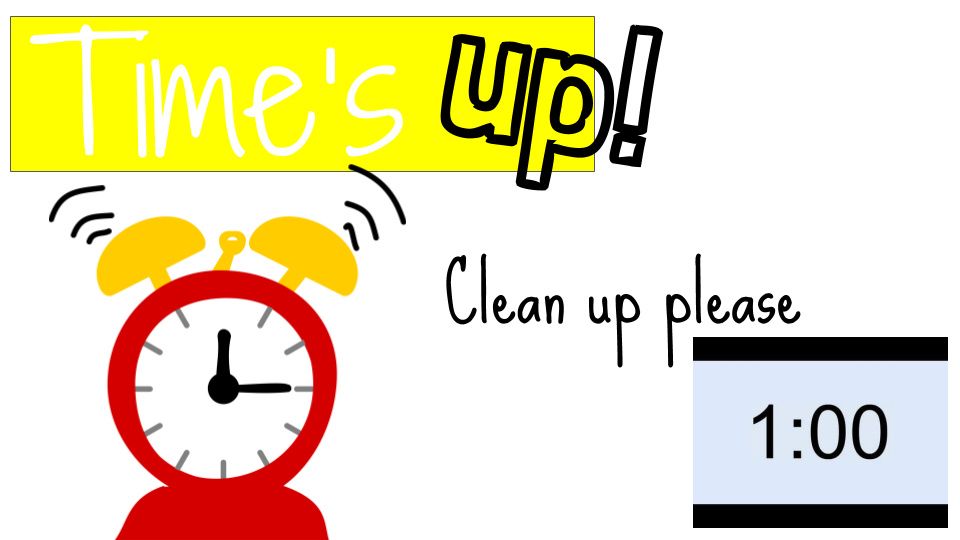
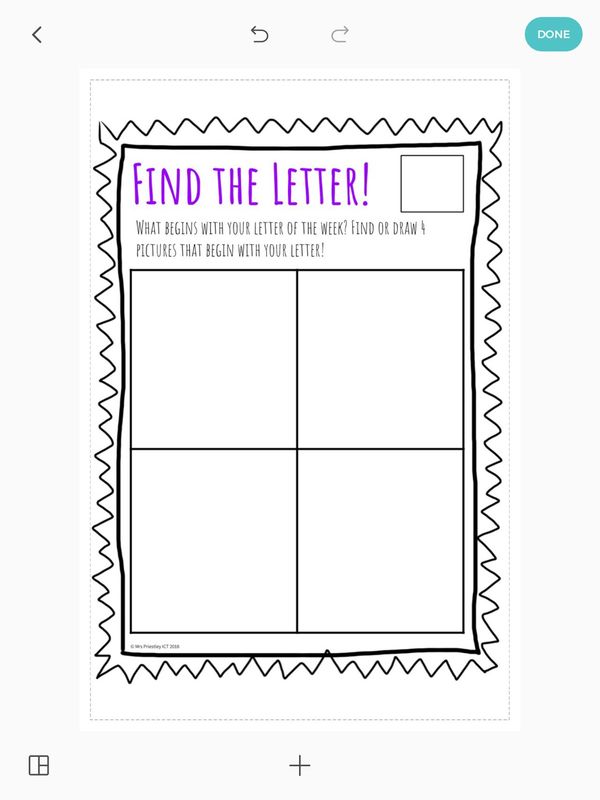
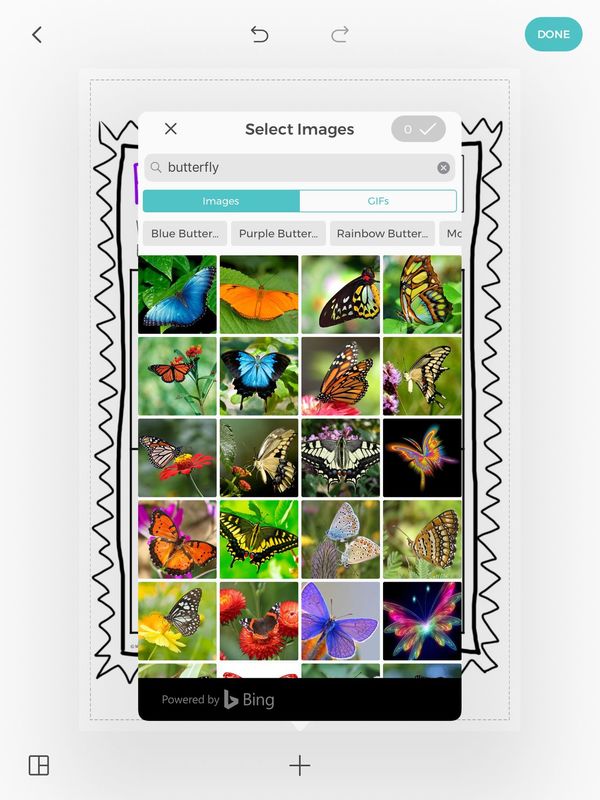
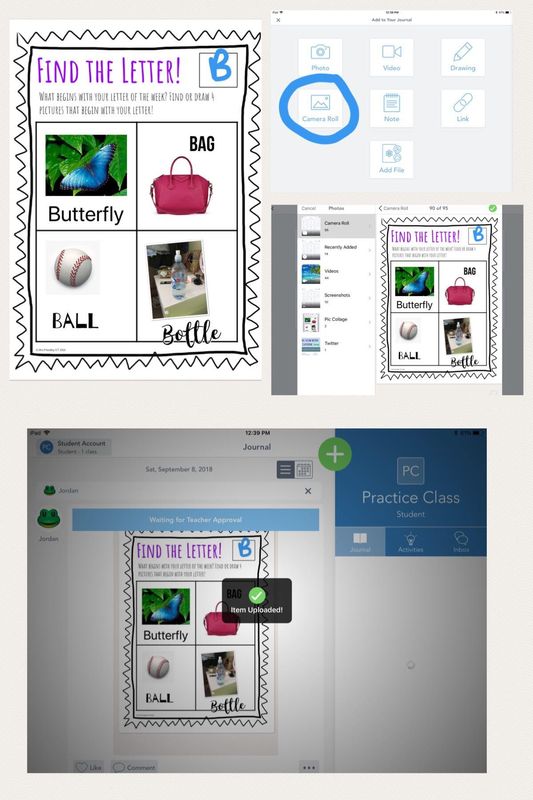
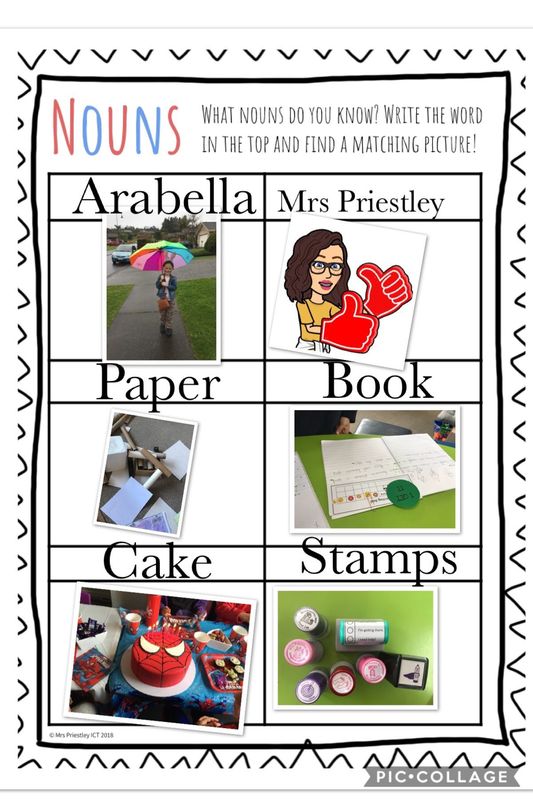
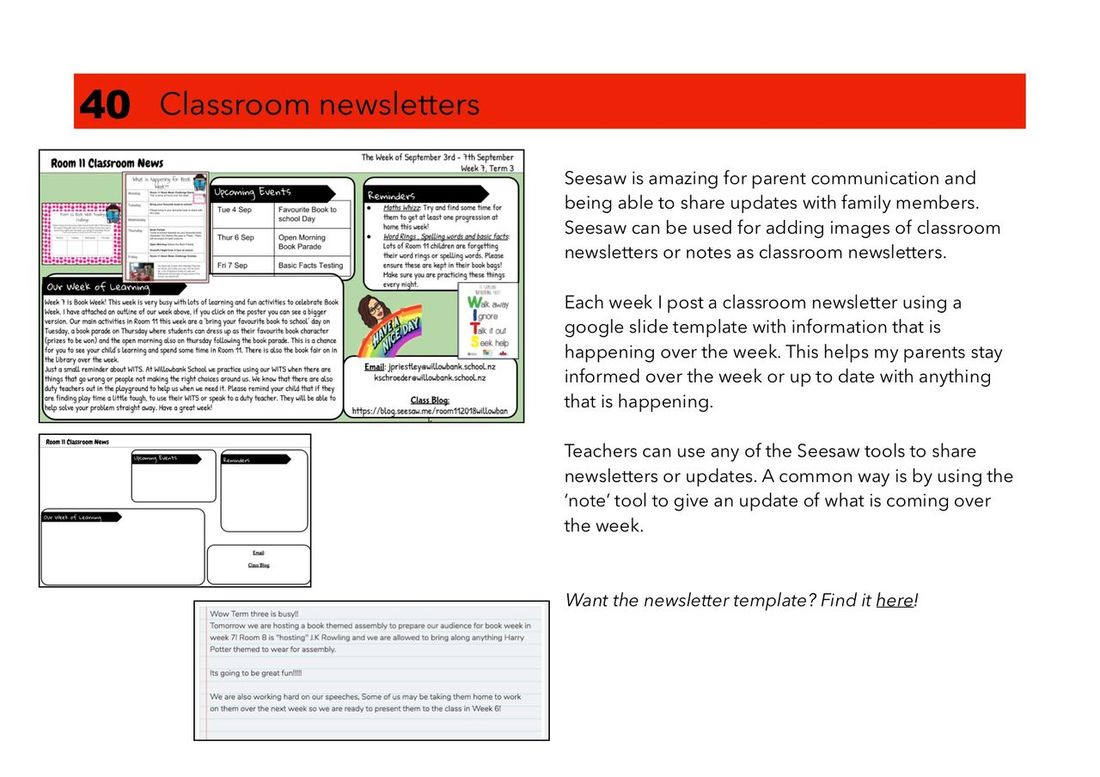
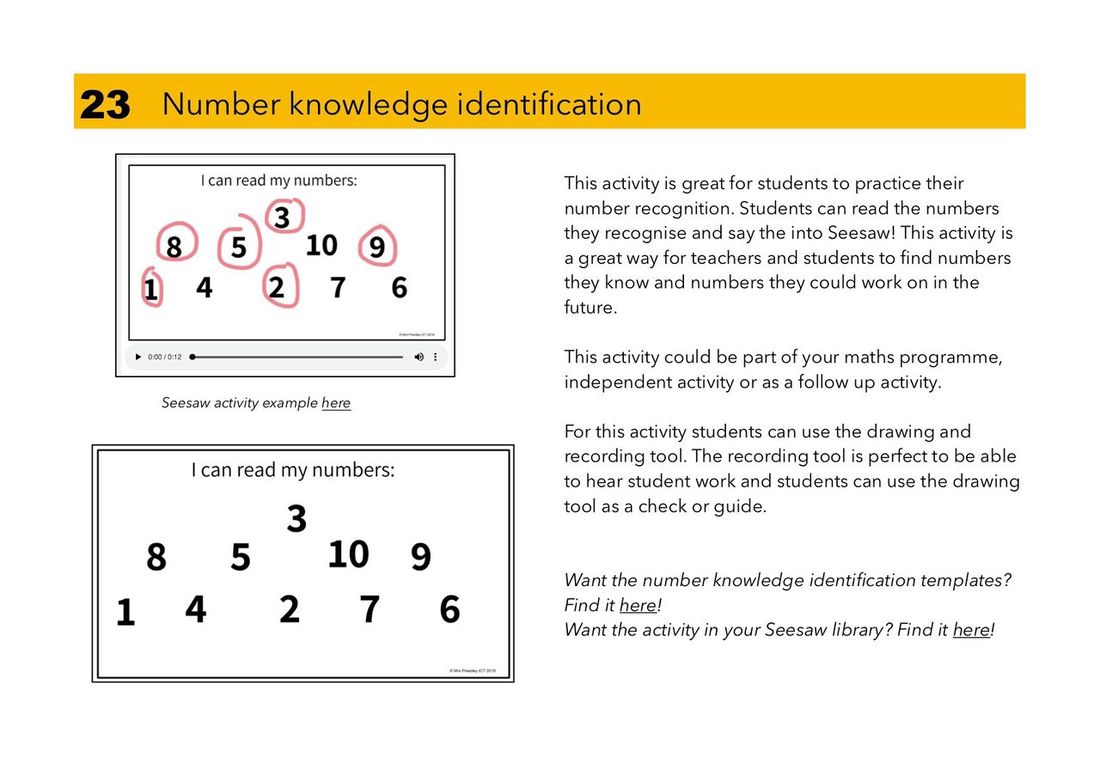
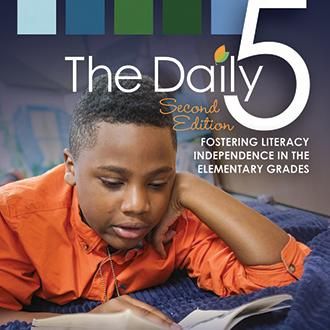
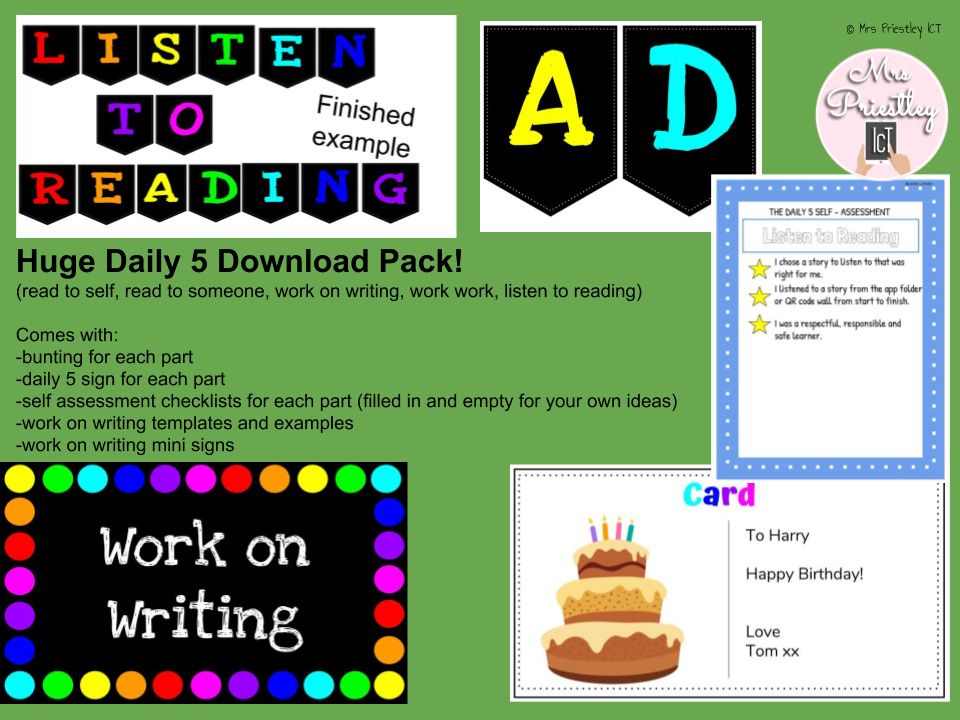
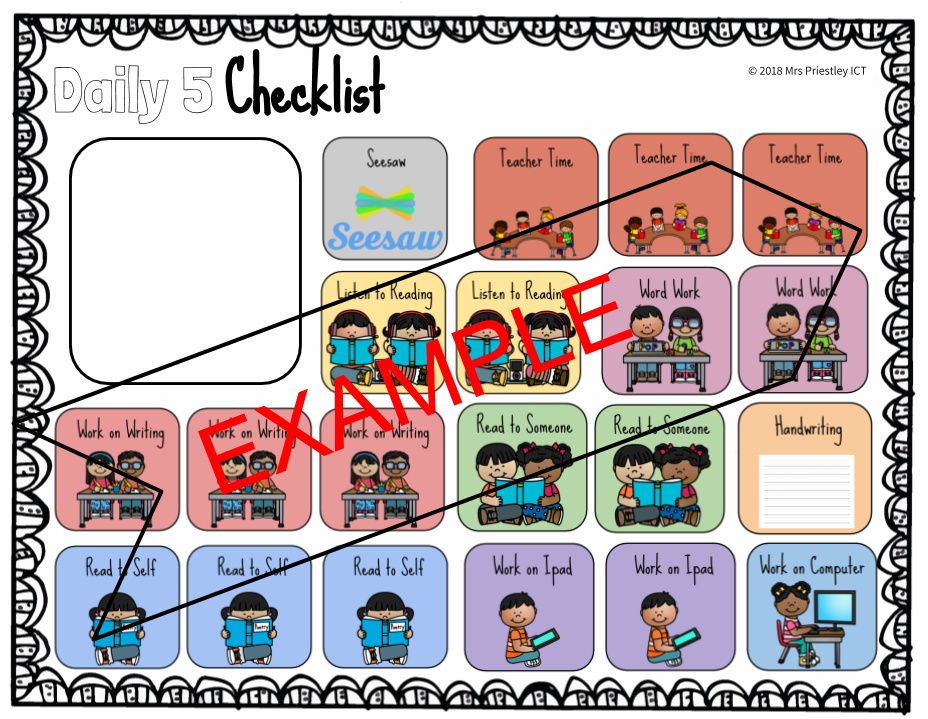
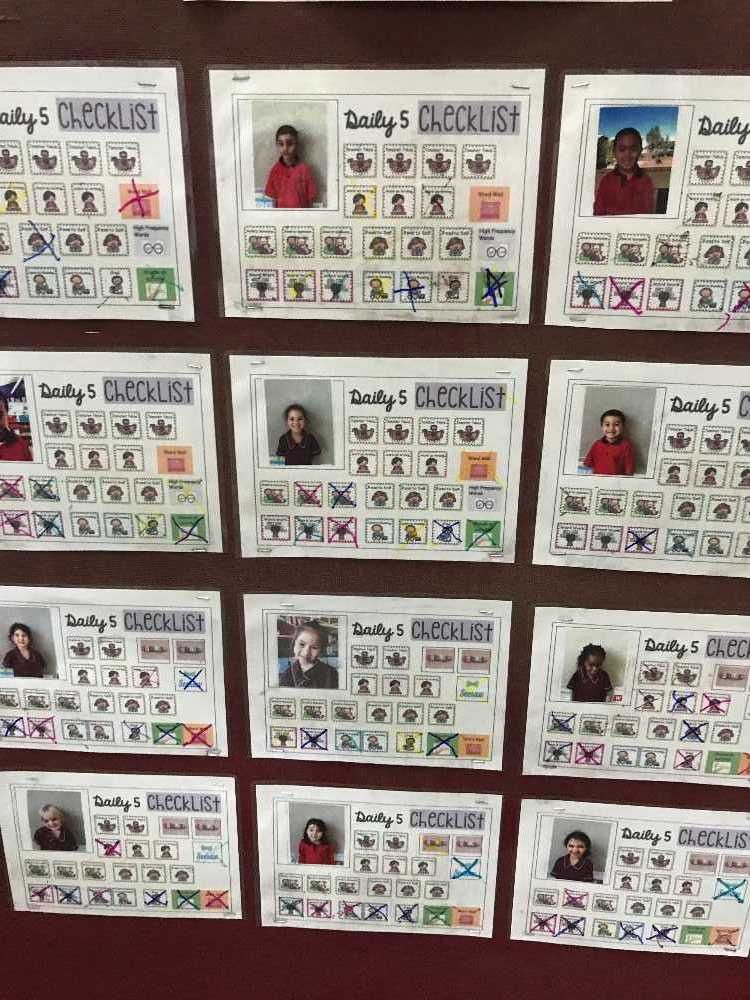
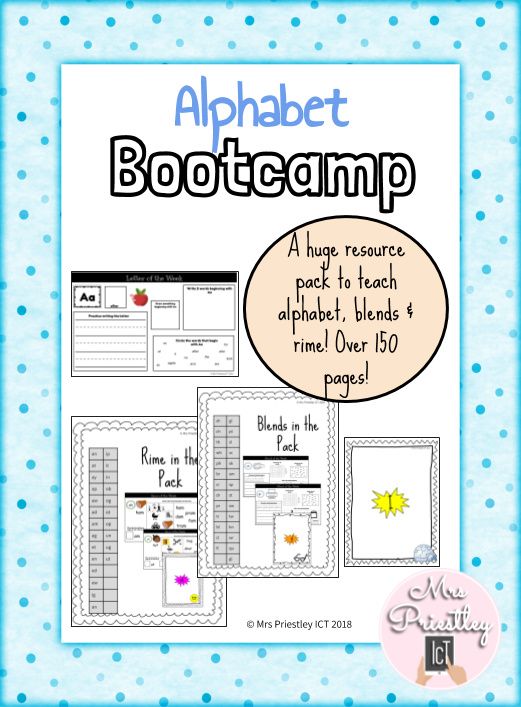
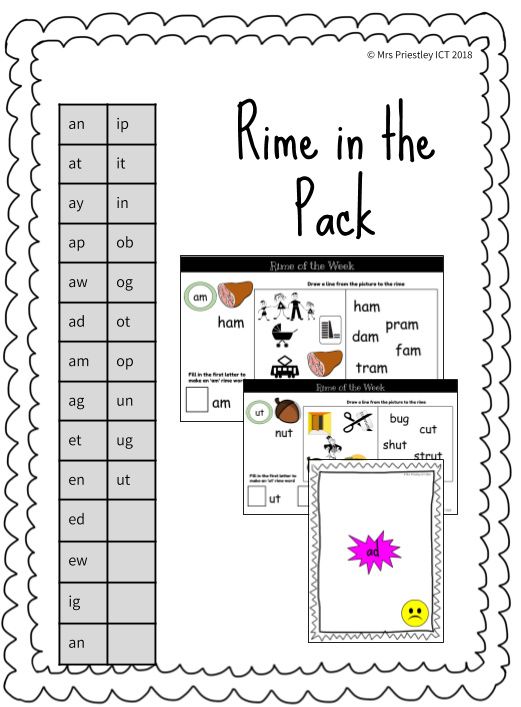
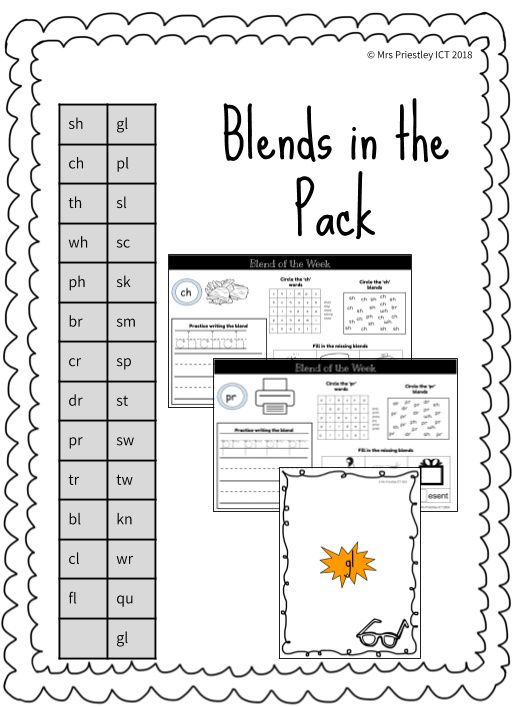
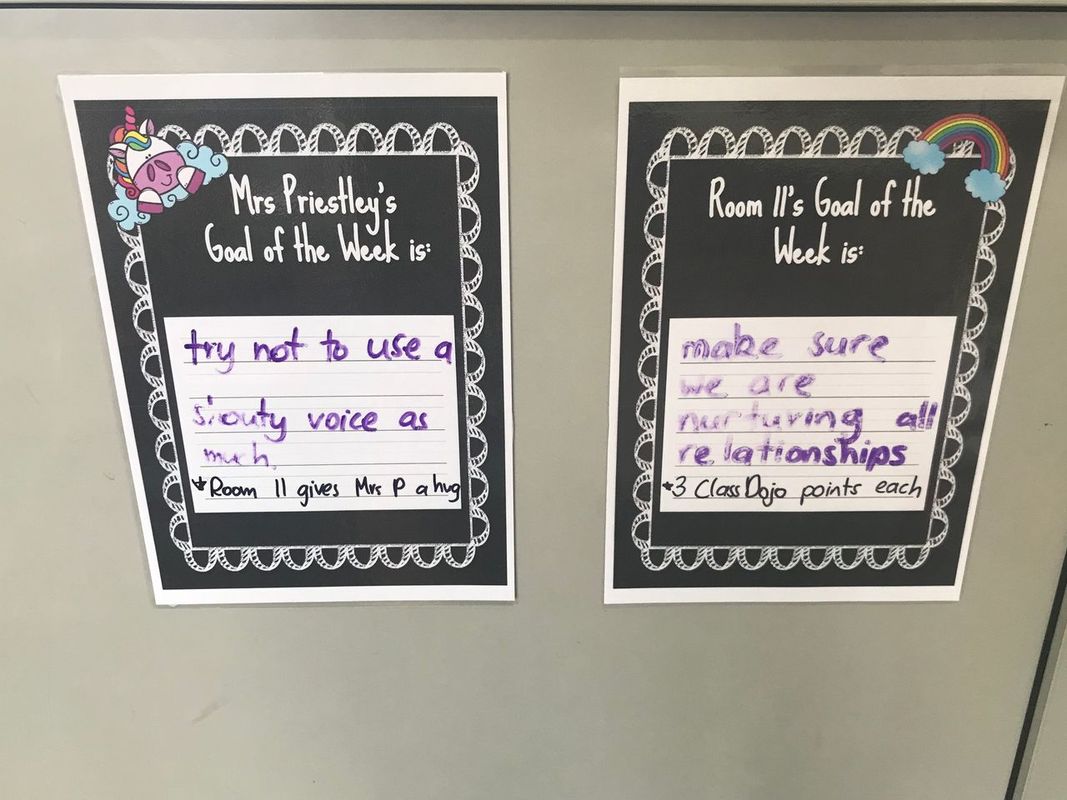
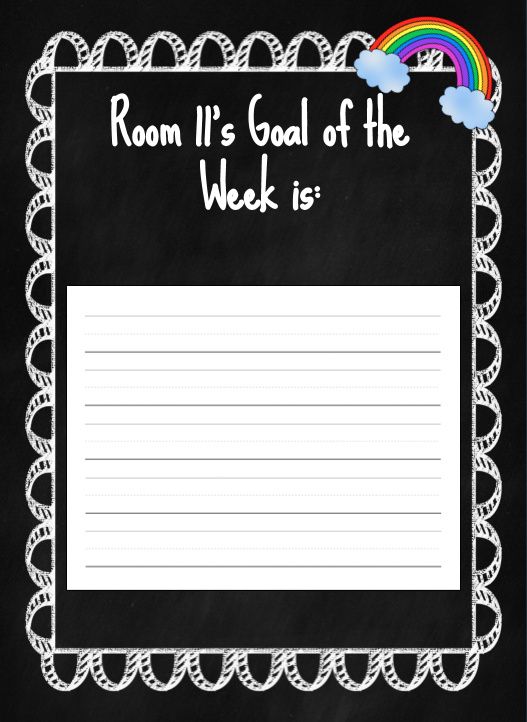
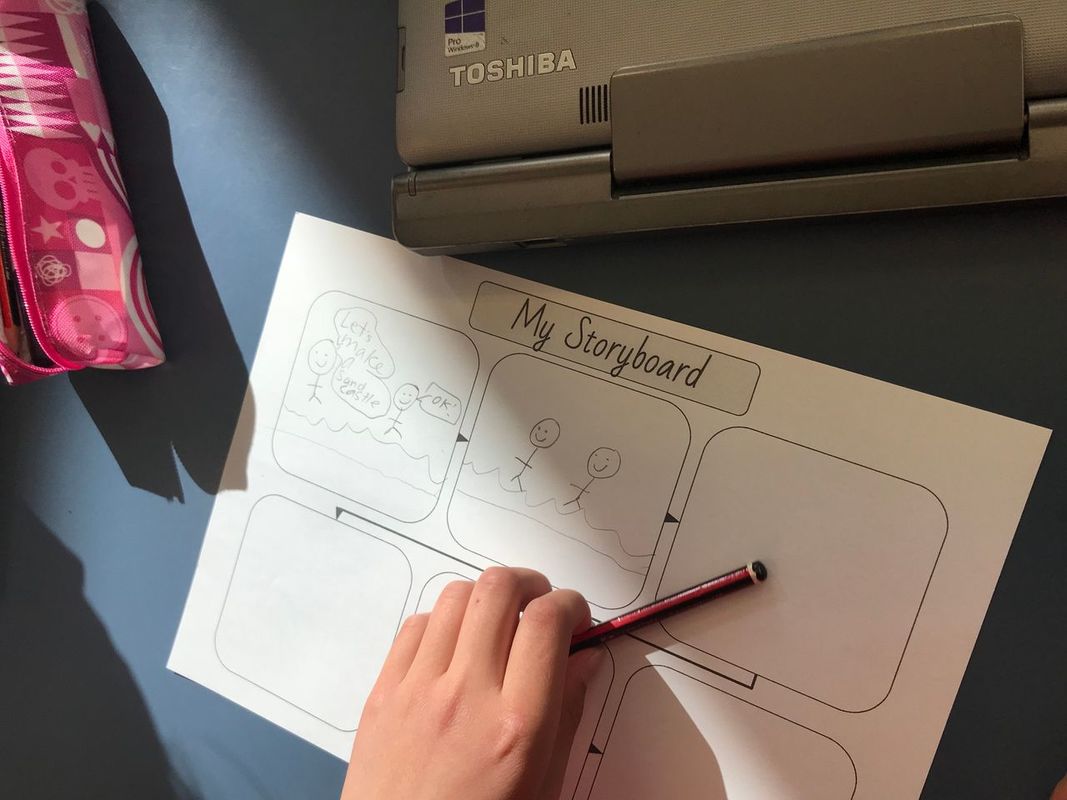
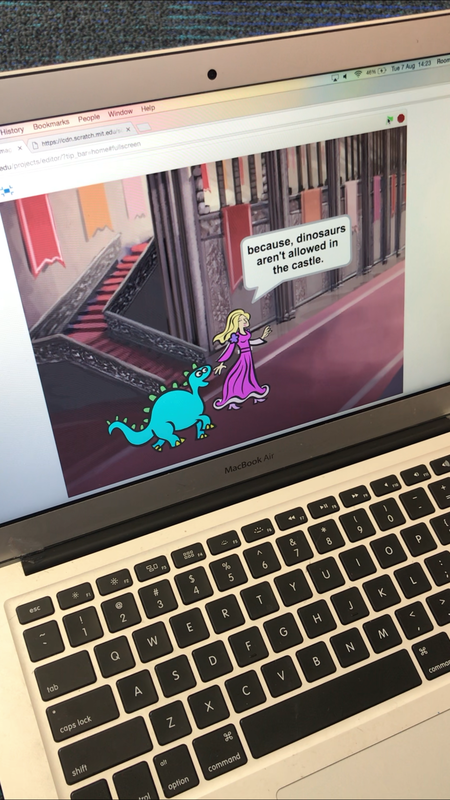
I am so excited to share with you a new avenue of Mrs Priestley ICT! We now have t-shirts for sale in a variety of styles, colours and designs that can help share your teaching flare with others! These are available for purchase at https://mrspriestleyict.printmighty.co.nz/ so go and check them out! Keep an eye out for discount codes coming your way too - whooo!!! 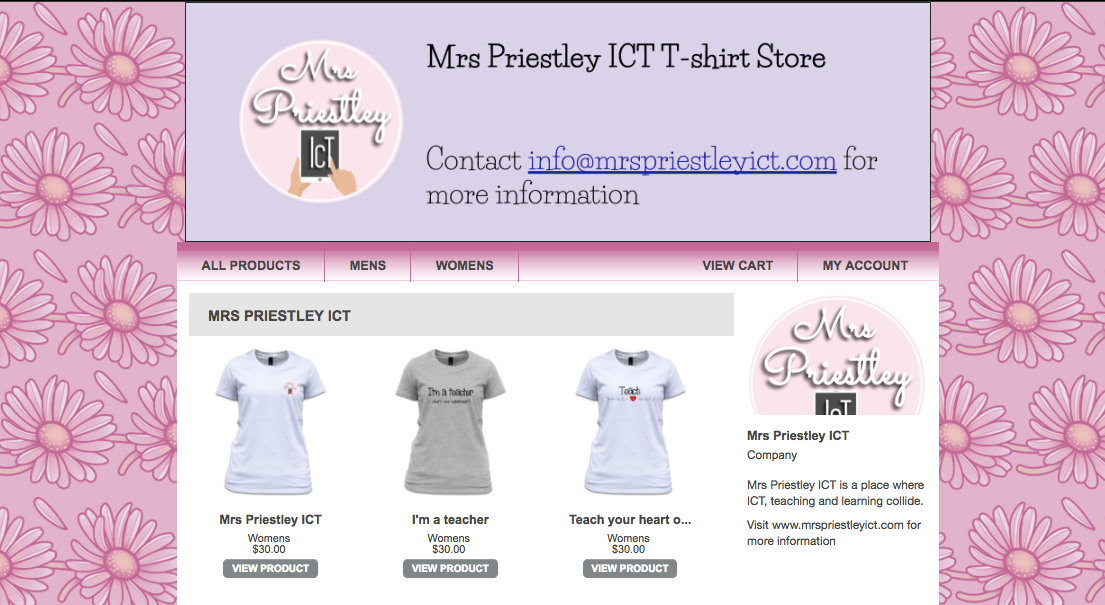 How do you keep track of learning time in reading rotations? I use this really simple Google Slide template with built in timers displayed on the TV for students (and myself) to keep track of our learning and the time in reading lessons. It is a great way to build responsibility amongst everyone in the classroom and ensure we are all working hard. I have 4 rotations in class which each last 15 minutes. I have a slide for each of those with instructions on what students should be doing (finding their board, crossing off their choice and getting started). In between each rotation there is a 1 minute tidy up timer to help students stay on task with tidying up and moving to their next one. You can make a copy of my template if you are interested here >> Reading timer: make a copy. These are fun to use and I hope you and your students like these too! Google Slides are a great way for setting up writing prompts or classroom discussions. Each slide can have a different prompt for students to share their ideas, make inferences and write about what they can see. Last year, I created a writing prompt Google Slide deck with each slide having a different, unique and interesting picture prompt! These prompts are sourced from pobble365.com which is an amazing website for odd, unique and out of the box writing prompts. Each picture prompt on pobble365 also has writing ideas, discussion points and parts for your learning. I put some writing prompt pictures as a background and use this for random descriptive writing lessons. Today was my first day back in a few weeks due to an operation so instead of planning something genre based, I used one of these prompts! And i must say, the writing today was awesome! The kids were so into it and really enjoyed writing about something completely different to usual. This is the prompt I shared today! First we talked about what we could see and named all the parts in the picture. As they named things, I wrote these down on a seperate slide. We then used our imagination to hop on an imaginary plane, fly up into the sky and name things that we could see from up in the sky! I then typed them onto the new slide and used these in our writing! We talked about a great sentence starter to help prompt our writing as well "Wow! I can see..." My students needed to write about something they thought they could see (real or not) and what that object was doing. It was so exciting hearing them think about different ideas, make suggestions and writing their ideas. I downloaded a few of the pictures from pobble365.com into a slide deck already, along with prompting questions. If you would like to make a copy of these for your own class, find the slide link here >> Writing Prompts Pictures. You can then add tables and type the key words your students come up with! Its a great way for whole class writing or brainstorming! Did you know that you can make 'apps' with Google Slides?? A fellow educator shared this fantastic website post from Shake Up Learning that just blew my mind! You can make 'apps' on Google Slides! Of course I had to make one straight away to test how easy it can be done and to trial this new idea! So i whipped up an initial sound alphabet game! Students need to think of the first letter of the picture and match it to the picture! So simple and a fun, interactive way of engaging students in lessons! Find and play my 'app' game here >> Mrs Priestley ICT App Read the website post from Shake Up Learning here >> How to create your own app 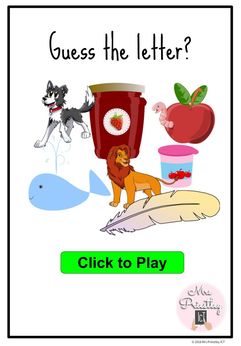 PicCollage is one of those fabulous apps that can be utilised in any curriculum area with your students! The possibilities are endless with using PicCollage so today I am going to share some quick tips on using PicCollage! I created these worksheets which are perfect for use with PicCollage or Seesaw! There is a little bit of everything inside this pack that can be used in both apps or just one! These worksheets are available for download from my Teachers Pay Teachers Store! Find the link here >> PicCollage and Seesaw Worksheets So let me walk you through how PicCollage works (just incase you haven't seen it before). PicCollage is basically a way to collage pictures (hence the name). It has some fabulous tools inbuilt into it! Each of these are accessible once you have chosen your picture. For this example, my students are working on a retell activity. They have their worksheet as the background, then will add drawings, pictures or text to fill in the parts. The tools you can use are: adding photos, searching the web for photos, adding text, adding stickers, changing the background colour and doodling (drawing). The first thing when using PicCollage and these worksheets is to choose your worksheet. This one here is a 'find the letter' activity that students would use to find things beginning with the letter of the week. Choose this as your background! To access the tools to add things click on the + at the bottom of your screen. You can see here I have used the 'doodle' feature to draw the letter of the week which is B. I then have inserted photos of things beginning with B from the web search and given text to each picture to explain what it is I have chosen. When you search for web pictures it is very simple! You type the word you are looking for in the search bar, look for your picture and simply tap it and then the tick! Your picture will then be added to your work and you can move it about or resize it to fit a space you have. When you have completely finished your work, tap the done button up the top and click save to library when it prompts you! Uploading your finished product to Seesaw is easy! Open up Seesaw, tap the green + and then tap camera roll. Choose your finished work from your camera roll and tap the green tick. Follow the prompts to finish adding it to your journal. You are done! Fantastic!! Easy to use and so much fun! This would be a Modification or Redefinition activity in the SAMR model as students are taking a usual drawing activity to a whole new level. Searching for images, using text, sharing it to a platform for feedback and connecting with other students in class by giving feedback! Here are two more examples of how I have used it in my class, with more to come! Hope you enjoy using PicCollage and Seesaw! Who does not love a good ebook!! Relaxing at night after a long day at work thinking how you can become an even better educator for your students! Look no further! I have just released my latest ebook talking about 40 ways to use Seesaw in your Classroom! It's an activity guide for educators!! This easy 42 page read will give you 40 ways, ideas and activities that you can use in your classroom to implement and use Seesaw with your students! You can download the pdf link here if you don't have itunes ebooks! Otherwise search my name 'Jordan Priestley' or '40 Ways to use Seesaw in your Classroom'! Daily 5! Who loves it? Uses it? Has no idea what it is? Daily 5 is a fantastic way of delivering your reading programme! It has five elements to it that students can practice or work through to build their literacy skills. The aim is for students to be able to manage themselves in Daily 5 but this of course is completely up to you and your students. And some teachers prefer to have control over student choice. The five elements to Daily 5 are: -work on writing -read to self -read to someone -word work -listen to reading You can of course include other elements to it, but these are the basis to a Daily 5 programme. You would have work with teacher or teacher time as well. I first came across it a few years ago on Twitter and to further investigate, I brought this book. It explains everything you need to know about Daily 5 and how to make it work in your class. So I got started, following the book, making changes where possible to suit my kids and work on this Daily 5 journey. I must admit, the first year I started Daily 5 it was a bit of a jumble. But now, my third year into using Daily 5 I really see the benefits my children are receiving from doing it. I teach Year 1/2 students. So if you are looking for where to get started I'm going to help you out! First read through my Daily 5 slides. These were made for PRT's at my school to explain what Daily 5 is and how you could run it. I have shared these on my website but here is the link again for you >> Daily 5 PLD Slides Now you need some resources! I created a huge Daily 5 resource pack to help you get started with Daily 5 in your class! This pack has signs, templates, examples and even self-assessment criteria checklists! Perfect for getting into Daily 5. This is available to purchase on my website or Teachers Pay Teachers page. Purchase this on my website and use the code 'daily5' to get a cheeky discount! Alongside my above resources I use a Daily 5 checklist. This is once my students have strong routine skills and are ready to self manage their choices in using Daily 5. Each student gets their own copy of a board and crosses out the choices they make during reading time. I have other extra ones in their also to keep it interesting and make sure my students are engaged. This checklist would work great alongside my other Daily 5 resources and is available for purchase from my website or Teachers Pay Teachers Store. Purchase this on my website and use the code 'daily5' to get a cheeky discount! This week I am sharing my newly created - Alphabet Bootcamp! This resources is huge - over 150 pages of alphabet, blend and rime activities to set you up for the year! Perfect for exploring in literacy time! This pack comes with: -Alphabet activities from A-Z -Alphabet anchor charts for brainstorming A-Z -blends (list provided) activities -blends anchor charts for brainstorming -rime (list provided) activities -rime anchor charts for brainstorming These activities can be completed in paper form by simply printing out your one for the week. Or export them as a JPEG and upload them as an activity on Seesaw or Google Apps. This resource pack can be purchased from my Teachers Pay Teachers Store for only $1.50!! So cheap. Or purchase it through my website for only $1! Use the discount 'bootcamp' to purchase it through my website - only valid until 2/9! Do you use class goals in your class? We have started using a weekly focus goal to help keep us track of our behaviour in the class. There are two goals: one for the class and one for myself. It's only fair I have one to work on if the children are working on one too! On Monday, we talk through our week that passed and an area we think we might work on. I find the goals for the class are easier to think of than goals for me. The ones I always get are more generic ones like "not too use a shouty voice" or "smile more". But still it is important to have something to work on! The templates of both of these are downloadable if you were looking to set up something in your class. There is one for the teacher and one for the class! Or simply use the class one if you don't want to have one for yourself! Find the links below to make a copy and create one for yourself! Teacher Goal for the week: Click here for the link! Class Goal for the week template: Click here for the link! Google Sites has changed since I first came across Google Sites and they are so much more user friendly! The ability to create sites, add your media and share these like any other Google app is awesome! Today I gave a PLD session with my teachers at school on using Google Sites to help them with their inquiry. Our teachers are do lots of collaborative learning amongst classes with no a lot of ways to document and share their learning. Sure you could use a Google doc or Google Slide dec. But that doesn't give you the same options like Google Sites can. If you are looking for some information on using Googles Sites or even some example Google Sites check out my PLD slide deck >> bit.ly/mrspriestleyictgooglesitesPLD.  ClassDojo is amazing!!! There are so many tools that they provide for teachers, students and educators to use to make their classroom fantastic! In my PLD Slides that I have shared, it breaks down all the aspects that ClassDojo provides to help you learn about all that is has to offer. Some of these tools are: -behaviour management rewards for each students little monster avatar -toolkit involving a timer, random picker, think pair share, noise monitor and more! -portfolios >> their new way of sharing learning with family members like Seesaw I mainly use ClassDojo for the behaviour tracking and toolkit. As I use Seesaw for sharing student learning, I won't be using ClassDojo Portfolios in place of that. They both have the same features but as we have been using Seesaw for three years I will be sticking to that. Check out the link to my PLD Slides here for you to view, use and make use of in your classroom practice >> http://bit.ly/mrspriestleyictclassdojo  I found my children were constantly bugging me during teacher time in my lessons and wondered how I could decrease this from happening. We created a "When to interrupt Mrs Priestley" chart but that wasn't really having the same effect. So I thought of how I could best suit my classes needs and seeing they love Bitmojis I worked on this! A very simple yet effective way of showing my children if they can talk to me or not. I created the two boxes on google drawing, inserted my Bitmojis and then printed it out along with an arrow. When I am available to talk to students I move the arrow over to 'How can I help you' and the students know they are able to talk to me or ask me questions. When I am busy working with a group, I move the arrow over to 'Do not Disturb' and students know they need to see other peers in their class before me. This sits behind me on my focus wall so students can easily see it to help encourage them to problem solve the situations themselves. If you want to make a copy of my template you can find it here >> Bitmoji do not disturb chart. Simply make a copy of it and add your own Bitmojis! 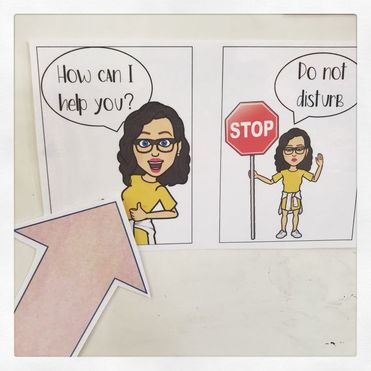 Scratch is a great programme for students to learn to code and complete some computational thinking. There are so many activities, learning opportunities and ways for students to use Scratch in their learning and today I am sharing my most recent lessons with you! My good friend (and amazing educator) Michael creates these awesome Scratch videos to help you use Scratch within your learning. This lesson I started using and adapting, focuses on writing a story using Scratch. Michael makes it very easy to follow, showing you a detailed explanation of how to create the learning, the purpose behind it and gives you resources to help you too. Click here to watch the video This lesson was fantastic for giving the students a purpose to using Scratch. Not just to develop computational thinking. But to create cross curricular links into reading, writing and art to get all students involved. We have only just started creating our stories first practicing making conversations on Scratch and then designing our story boards to plan the rest of our story. Over the next month (CRT is every fortnight) we will add on different sections and learn key skills to finish this story! Thanks so much Michael for sharing your wisdom! Check out his facebook page MakerEdNZ or find him on youtube for more awesome videos! Did you know you can screen record on an iPad? This makes documenting and sharing student learning so much easier! Gone will be the times of having to have a buddy record on another iPad whilst you do you learning on another. This is such a great tool for students, teachers and educators but you need to make sure your iPad is up to date. Follow the simple instructions on my photo above to get started! 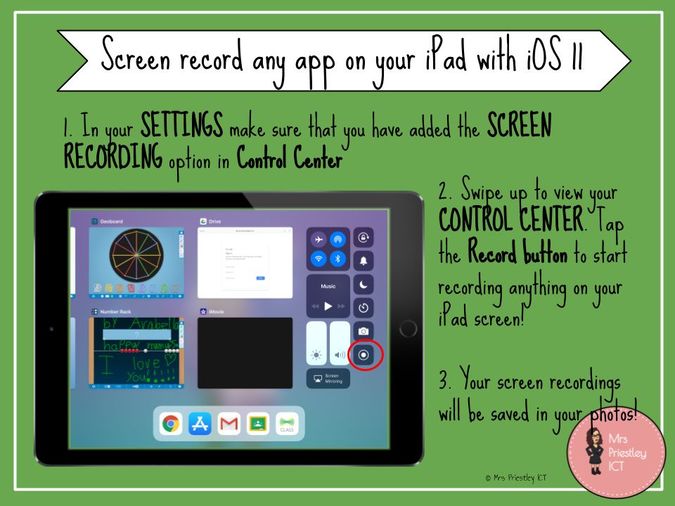 |
AuthorMrs Priestley ICT blog is a place to read, download and view ideas! Archives
February 2024
Categories
All
|


 RSS Feed